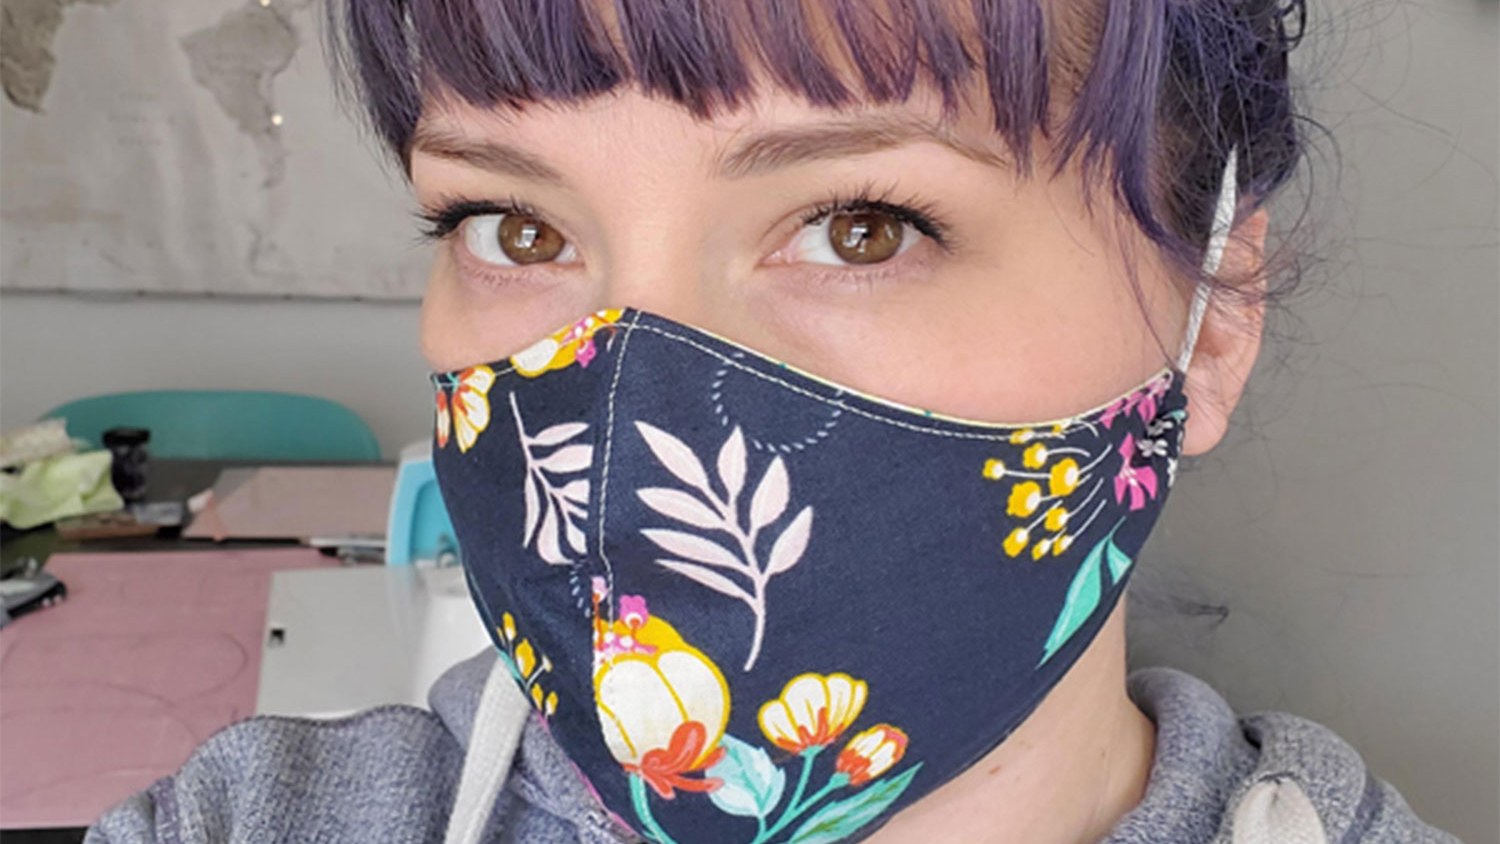
How to make a face mask using a Cricut machine
We want to make sure you know that these face masks can be made a number of ways:
- If you have a Cricut Maker, you can cut fabric on your machine.
- If you have a Cricut Explore machine, you can cut paper to trace the pattern on fabric.
- If you don’t have a Cricut machine, we have a downloadable PDF pattern available below.
And if you don’t have a sewing machine
We just introduced a no-sew face mask that’s easy to make if you don’t have a sewing machine. You can check out the no-sew face mask here.
Face mask tutorial using your Cricut Maker
This step-by-step tutorial will cover how to cut a face mask on your Cricut Maker. The project cuts a large adult face mask but additional sizes are available. Be sure to select the size with the best fit. We recommend only using tightly woven 100% cotton or cotton/poly blend fabrics.
Caution: This mask is NOT rated for disease control. The Center for Disease Control (CDC) has provided the following information regarding homemade face masks: The role of face masks is for patient source control, to reduce contamination of the surrounding area when a person coughs or sneezes. Patients with confirmed or suspected COVID-19 should wear a face mask until they are isolated in a hospital or at home. Most face masks do not effectively filter small particles from the air and do not prevent leakage around the edge of the mask when the user inhales.* When professional face masks are not available, healthcare personnel might use homemade masks for care of patients with COVID-19 as a last resort. However, caution should be exercised when considering this option since their capability to protect healthcare personnel is unknown.
Watch a video tutorial on how to cut your face mask on a Cricut machine
Watch a video tutorial on how to assemble your face mask cut on a Cricut machine
If you don’t have elastic, check out some alternative materials that you can use to fasten the face mask
Supplies you’re going to need:
- Cricut Maker
- FabricGrip Machine Mat – 12″ x 24″
- Washable Fabric Pen
- Brayer
- 1/4″ (6 mm) Braided Elastic
- For adult large: 20″
- For adult small/medium: 18″
- For youth large: 16″
- For youth small/medium: 15″
- Rotary Cutter
- Scissors
- Small Safety Pin
- Fabric of your choice:
- 8″ x 16″ (20.3 cm x 40.6 cm) (for outside fabric)
- 7″ x 16″ (17.8 cm x 40.6 cm) (for inside fabric)
- Nice to have: Cricut EasyPress Mini
Choose the face mask size you want to make in Design Space:
If you don’t have a Cricut machine, you can download the face mask patterns here:
Quick prep:
- We recommend reading through all project steps before beginning.
- To make changes to this project, use the Mat Preview screen to move pieces to different mats or colors. We do not recommend rotating the pieces, as they are arranged to follow the grain of the fabric.
- Before cutting, make sure to pre-shrink fabric by pre-washing washables or steam-pressing non-washables.
- Pre-cut fabric by hand to fit on mat. Please note the direction of the grain for each fabric piece.
Cut your pattern:
- All of the piece numbers on the mat preview should be drawing in the direction of the grain.
- Mat 1: Place the 8″ x 16″ (20.3 cm x 40.6 cm) piece of dark blue fabric right (pattern) side down onto the mat with the grain running the length of the mat.
- Mat 2: Place the 7″ x 16″ (17.8 cm x 40.6) piece of light blue fabric (pattern) side down onto the mat with the grain running the length of the mat.
Let’s assemble it:
Step 2: Match up dark blue outer pieces, right sides together and sew the curved portion with a 1/4″ (6 mm) seam. Repeat with the liner piece. Snip along the curve, careful to not cut through the stitching.
Step 3: Press the straight edges down about 1/4″ (6 mm) away from the edge on the liner.
Step 4: Stitch close to the edge on the liner piece.
Step 5: Press the straight edges down about 1/4″ (6 mm) away from the edge on the liner.
Step 6: Fold the outer piece over and press to create the casing for the elastic. Stitch close to the previously pressed edge to leave enough room for the elastic.
Step 7: Press the curved seam to one side and top stitch along that side of the curved seam of each the outer and liner pieces.
Step 8: Align the outer and liner pieces, right sides together, and stitch along the top and bottom with a 1/4″ (6 mm) seam. Backstitch to reinforce seams where necessary. Leave the sides open.
Step 9: Trim and snip as necessary. Turn through one of the side openings and press all seams. Top stitch along the top and bottom, reinforcing as necessary.
Step 10: Thread elastic through the bottom casing on one side using a small safety pin. Continue threading through the top of the other side of the mask until you meet back up with the other end of the elastic.
Step 11: Connect the elastic with a zigzag stitch, making sure that elastic is not twisted. Move the stitch part of the elastic into the casing for comfort.
Step 12: Place a filter in the mask through the side openings if desired.
You did it! Now make some more!
For more information regarding respirator use, please click here
For more information regarding face masks, please click here
Thank you to our Cricut community
Keep sharing all your incredible projects that are making a positive impact! We can’t wait to see what your make. #togetherwemake #cricutbekind
About Cricut Inspiration
Search How-To
I want to make...
Related Making

5th grade teacher, Nancy Chung reflects on 27 years of teaching
Read More
March Making Challenge: Week 4 Free Designs!
Read More
March Making Challenge: Week 3 Free Designs!
Read More
March Making Challenge: Week 2 Free Designs!
Read More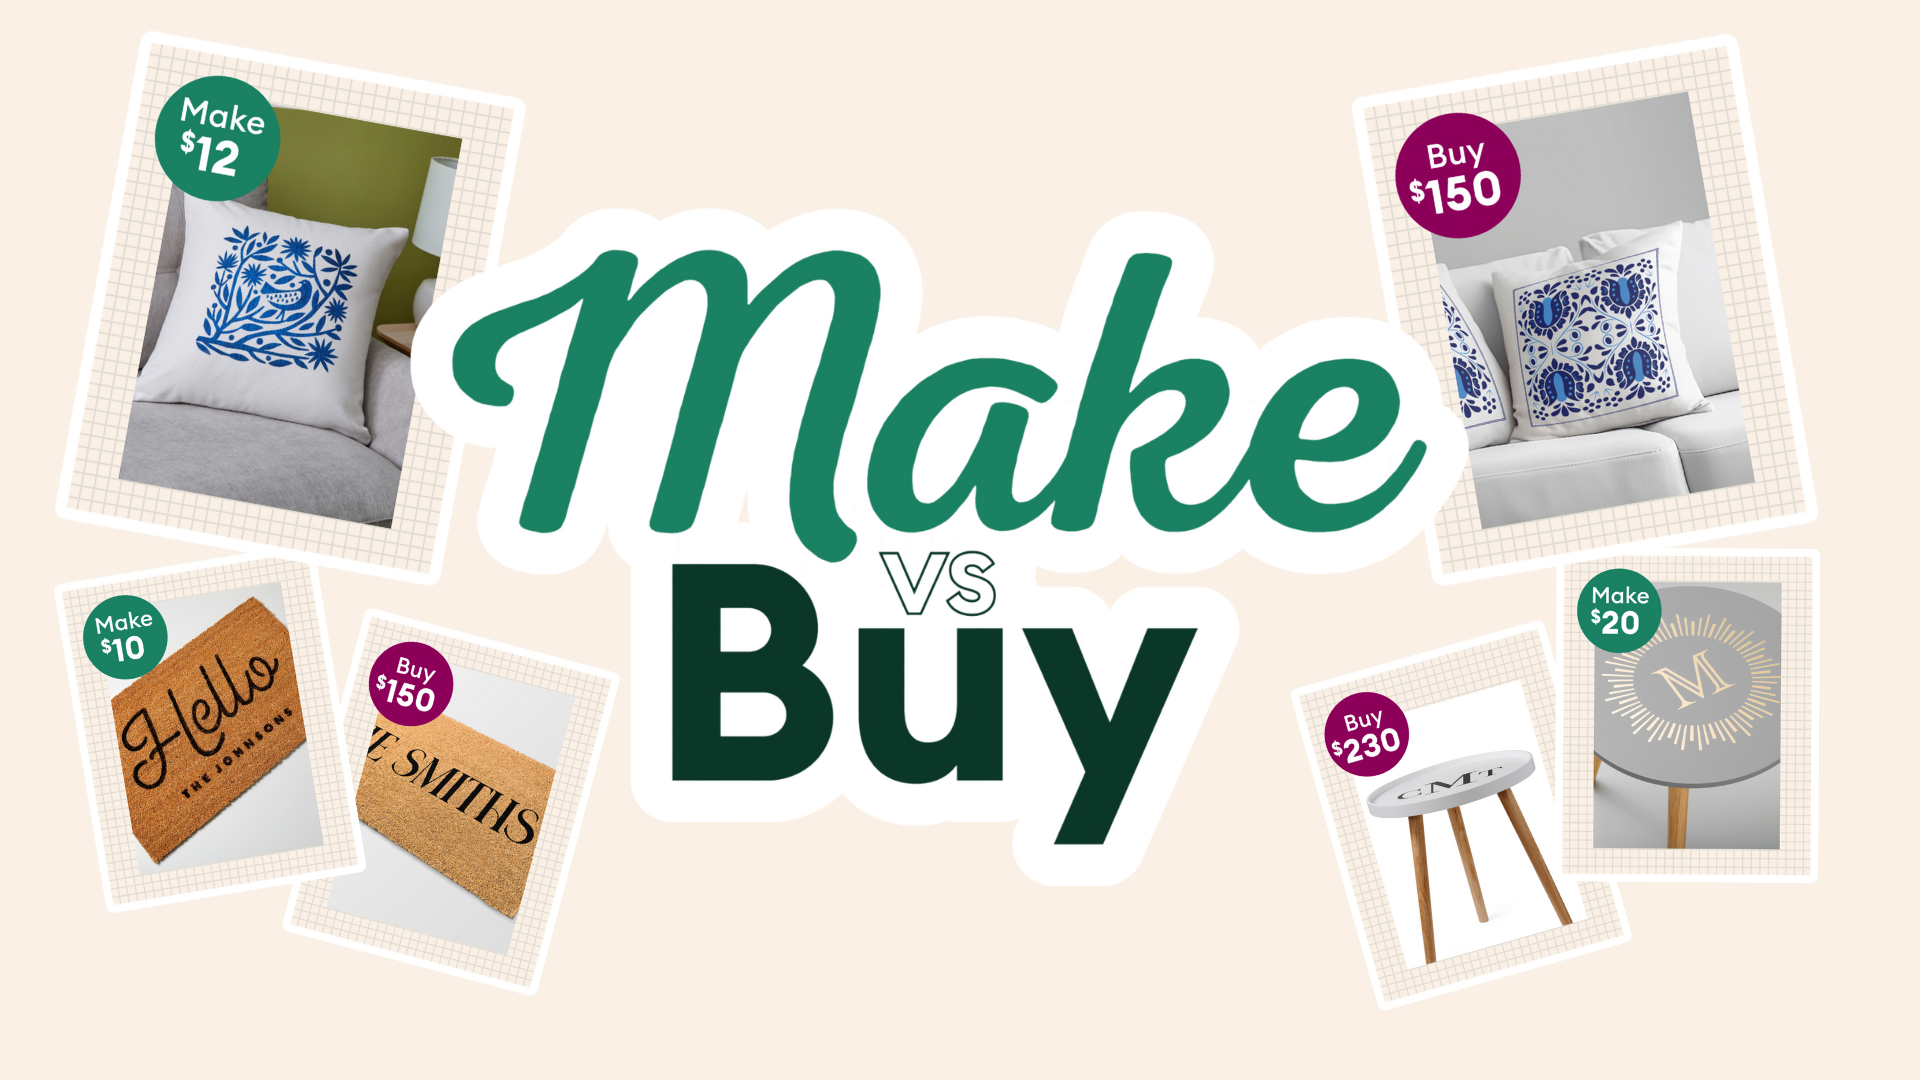
Make vs. Buy with Cricut
Read More
Celebrate National Craft Month with Cricut’s March Making Challenge!
Read More
Newly engaged this Valentine’s Day? Make your wedding stand out with these custom project ideas
Read More
Be the MVP of your big game party
Read More
Creative Christmas tree decorating with Cricut
Read More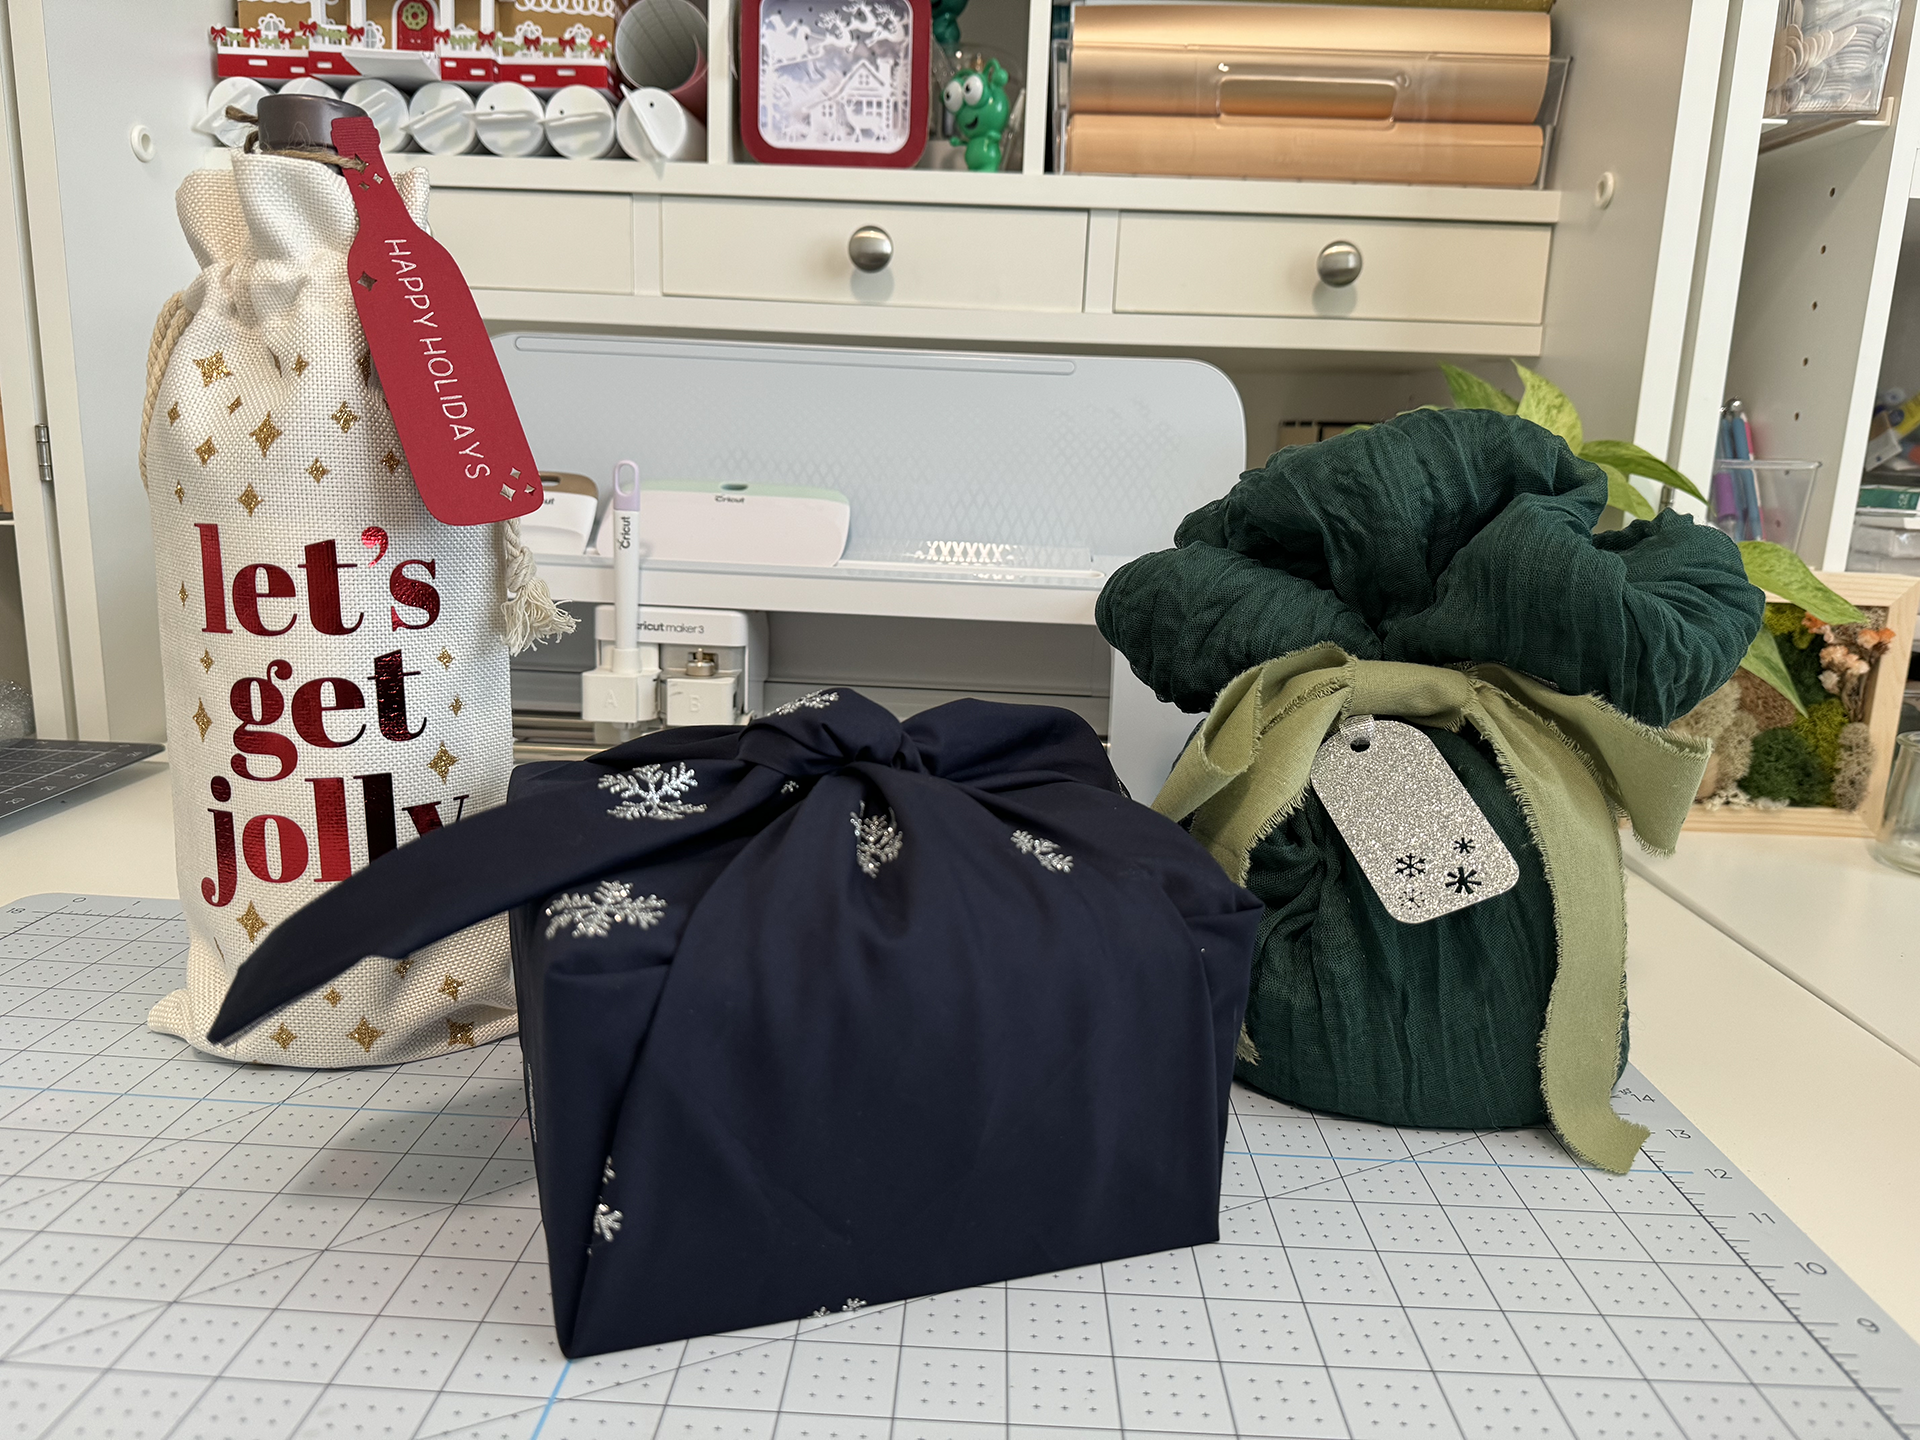
3 unique ways to wrap holiday gifts (that aren’t wrapping paper)
Read More
5 ways to elevate your holiday table decor
Read More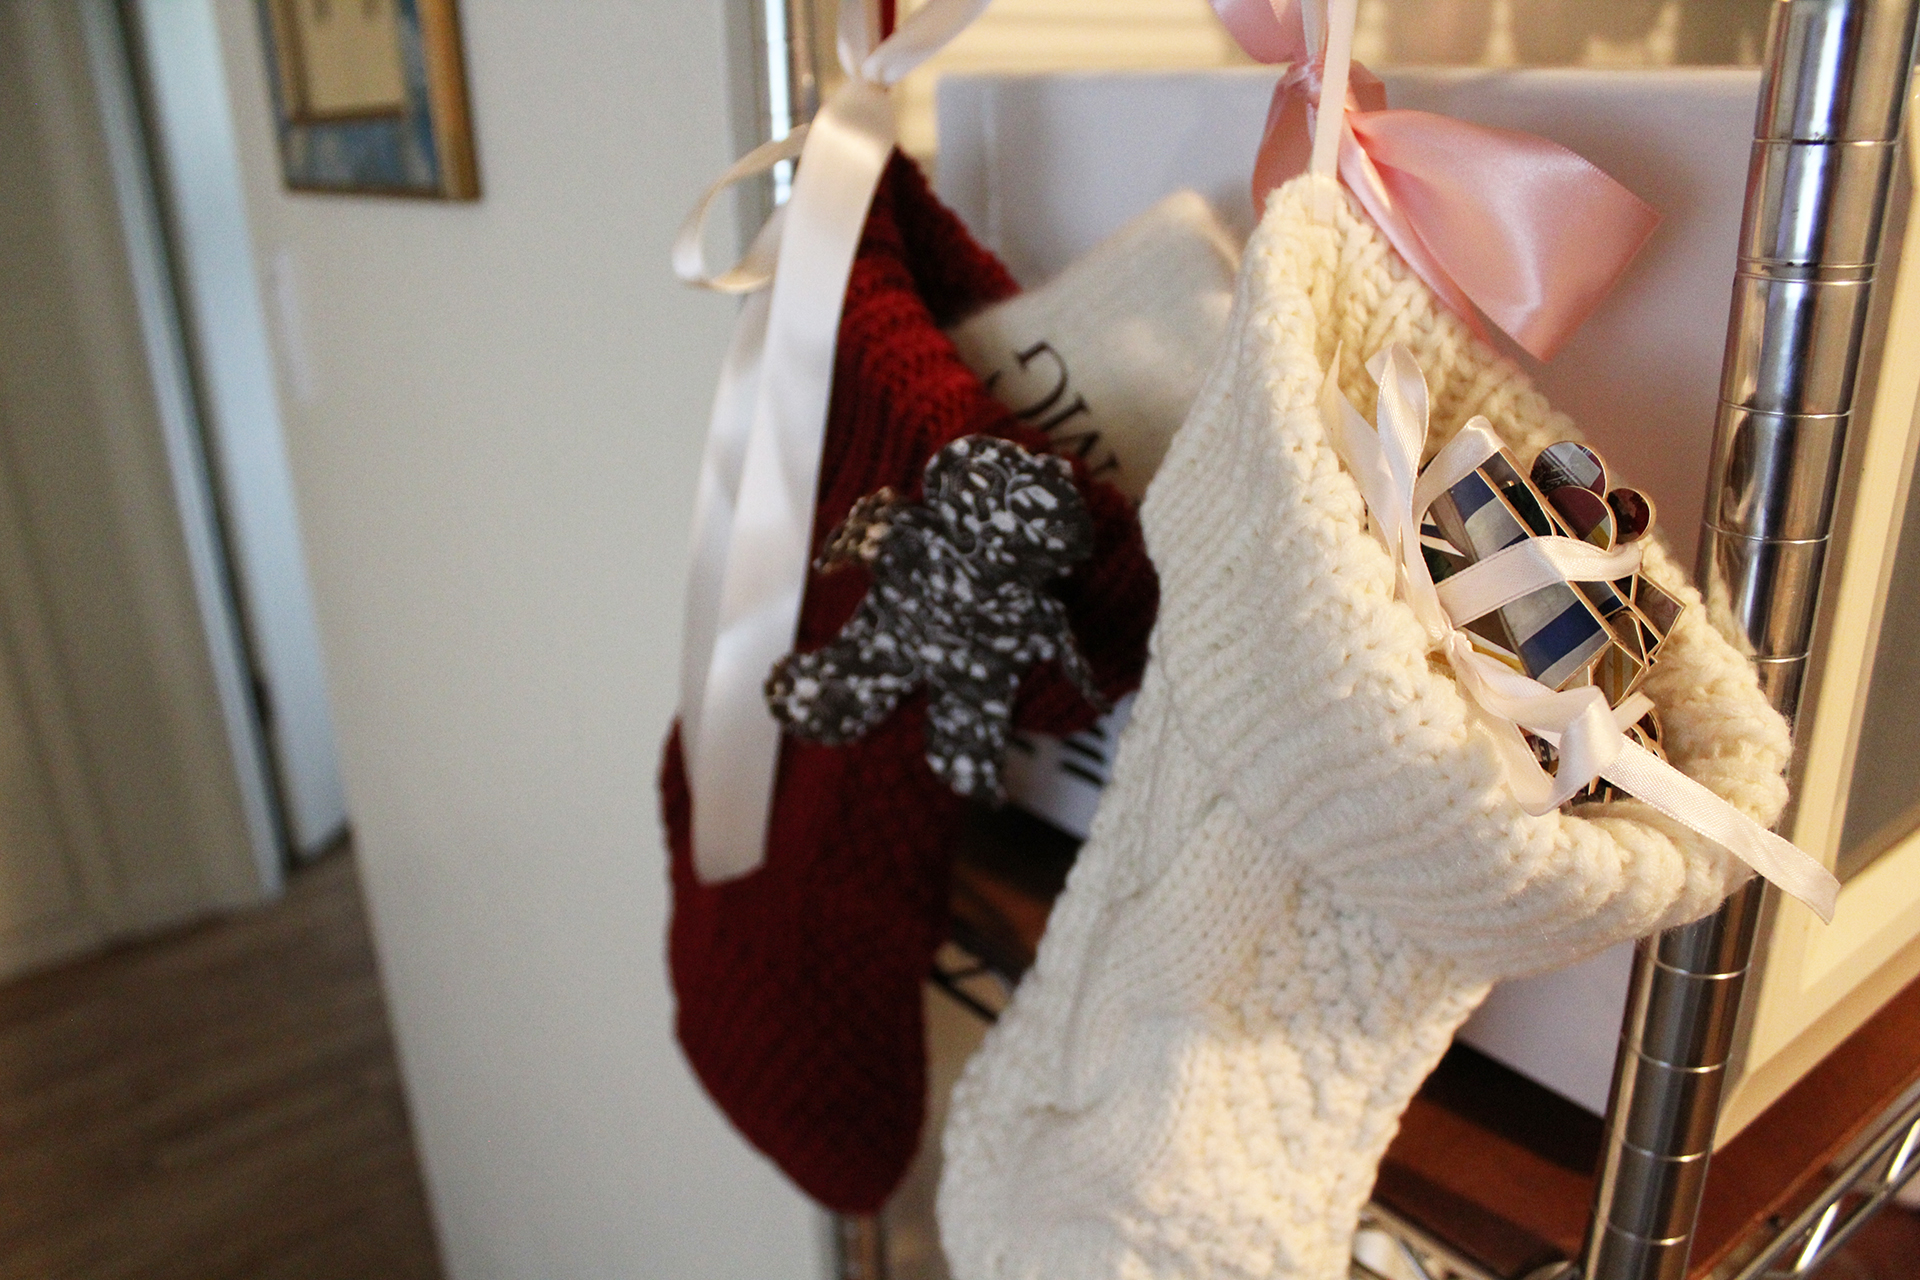
5 DIY stocking stuffers with Cricut
Read More
Crafting cheer: 4 festive Christmas projects
Read More
How to achieve an etched glass look using frosted vinyl
Read More
Fall inspired kitchen decor to make with Cricut
Read More