Colorful tie-dye tees for the 4th of July
Craft queen and Dream a Little Bigger blogger, Allison Murray, shares her step-by-step DIY to creating custom 4th of July tie-dye tees!
Growing up, my sister and I usually looked at the 4th of July as a simple, relaxed part of our summer vacation when we’d toss Snap Pops in front of our hotel room. So, when I was invited to celebrate the holiday at a friend’s house in the country many years later, it was a magical surprise to see a huge crowd of people on the lawn for a much bigger and bolder celebration. I instantly knew it was going to be an amazing experience, and it lived up to that promise with a night full of family, friends, food, and fireworks.
But magical is definitely not a word I’d use to describe the 4th of July during COVID. I was home alone and hopping around on my back porch trying to get a peek at the neighboring town’s fireworks display (and not really succeeding). And, if I’m honest, I was pretty sad about it. This year, though, is different and I’m going back to celebrating it the way I’ve learned to love — I’m going back home to visit family, cook all the good food, and best of all, watch the fireworks.
To commemorate not just the holiday but also returning to celebrations and events, I’m making custom 4th of July tie-dye shirts for the entire family, and I’m excited to show you how to do it too. This project combines my three favorite things – the 4th of July, tie-dye, and putting my Cricut Maker to good use!
Supplies you will need:
- Cricut Everyday Iron-On
- 100% cotton white tee shirts*
- Tie-dye kit
- Plastic wrap
- Gallon-sized plastic bags
- Paper towels
*When tie-dying t-shirts it’s always best to use 100% cotton. Any tees with manmade fibers, like polyester, will turn out faded and dull.
Tools you will need:
- A Cricut cutting machine (I use the Cricut Maker)
- Standard grip cutting mat (green)
- Weeding tools
- Heat press (I use the EasyPress 2)
- Heat-safe surface (I use the EasyPress Mat)
- Plastic tray or shoebox
- Wire cookie cooling rack
- Scissors
Before you begin
Place a wire cookie cooling rack over a plastic shoebox or tray to keep your work surface clean and prevent muddy colors on your finished tee.
Coloring your tie-dye t-shirts
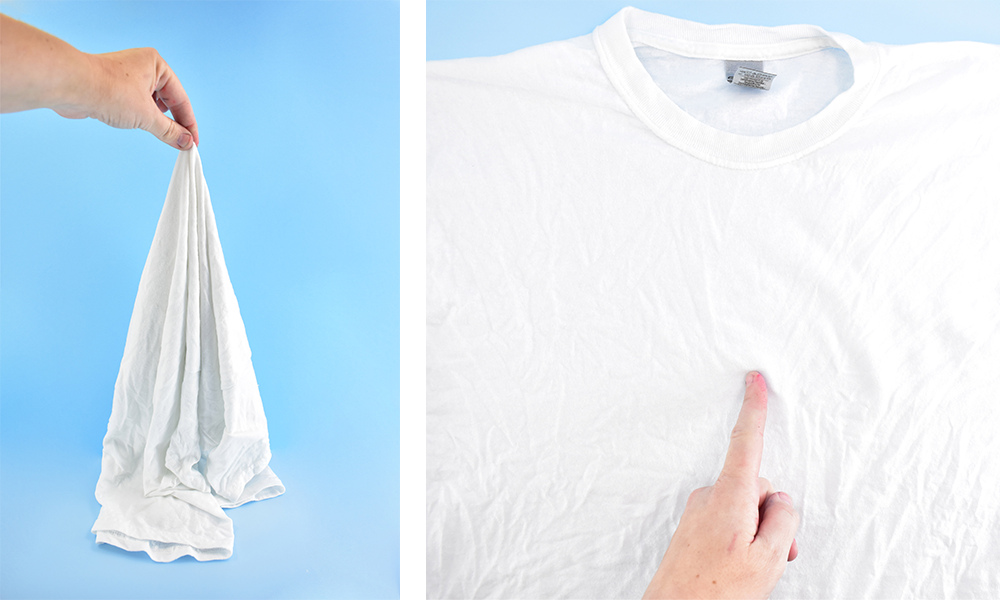
Right before dyeing, pre-wash your 100% cotton tees in hot water with detergent only (no fabric softener) to prevent shrinking later, and to remove any dirt or debris. Don’t put them in the dryer — it’s easiest to tie up your shirts when they come straight out of the washing machine.
Now, decide what you want your 4th of July tie-dye design to look like. I’ve included instructions for the two most popular designs– a bullseye and a spiral.
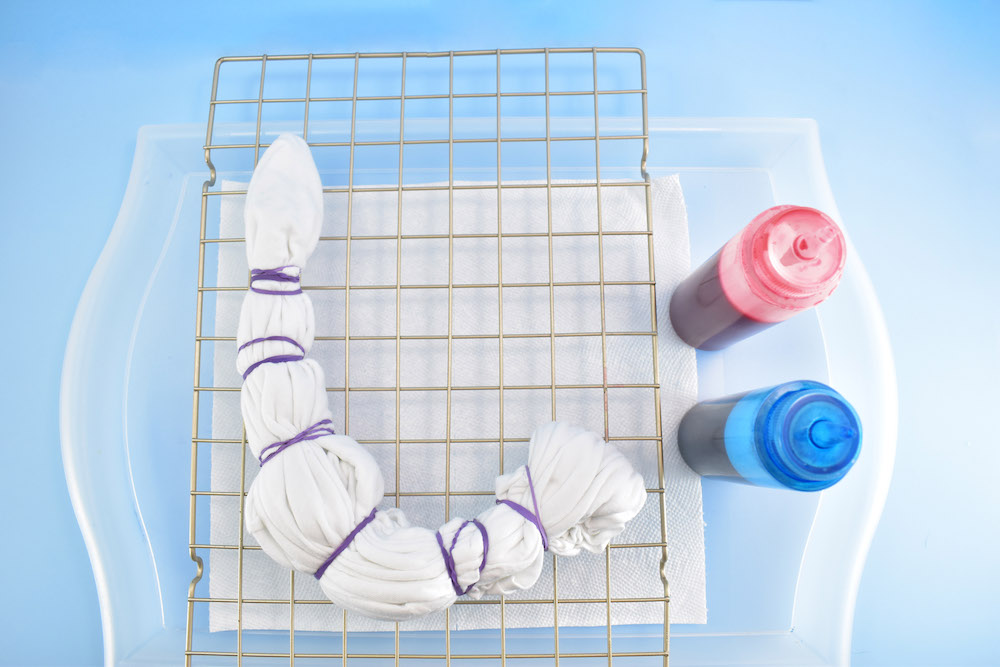
How to create a bullseye pattern
Lay your damp t-shirt on a smooth, flat surface. Centered between where the sleeves connect to the body, pinch the front and back of the tee. Pull the tee straight up and allow the fabric to pleat as it hangs. Tightly wrap a rubber band about 2-4 inches from where you’ve pinched the fabric of the tee. Continue tying bands onto the tee working down every few inches from the last band secured.
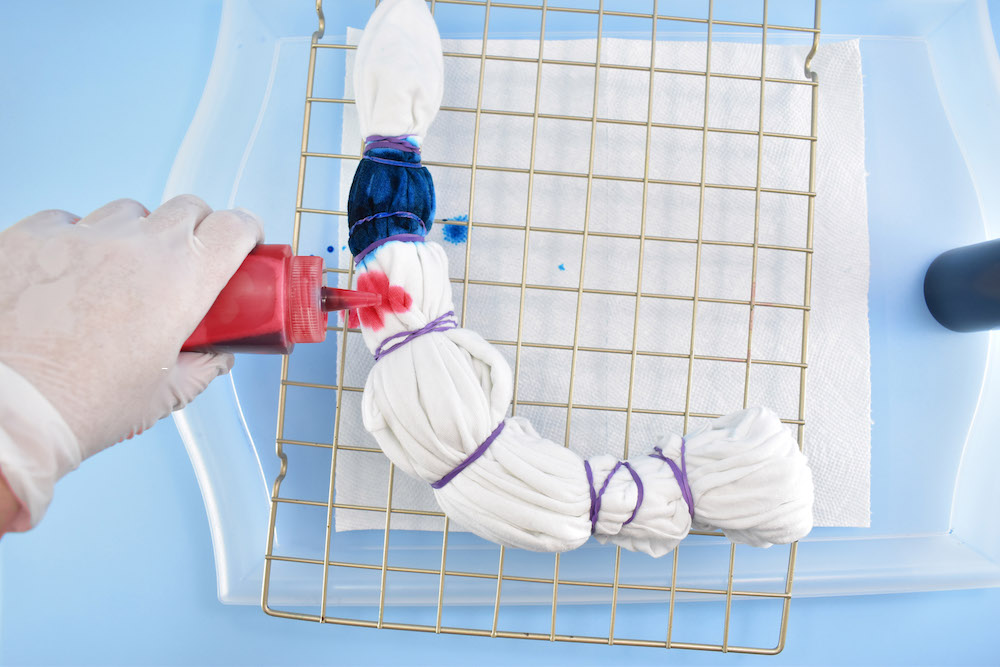
Apply dye to the sections in between the rubber bands. For colors that don’t run (or turn into purple), saturate your tee just enough that the dye goes into the fabric, but not so much that the dye drips out of it. Flip the tied tee over and repeat the same colors on the other side. Wrap in plastic and store in a warm place for 24 hours.
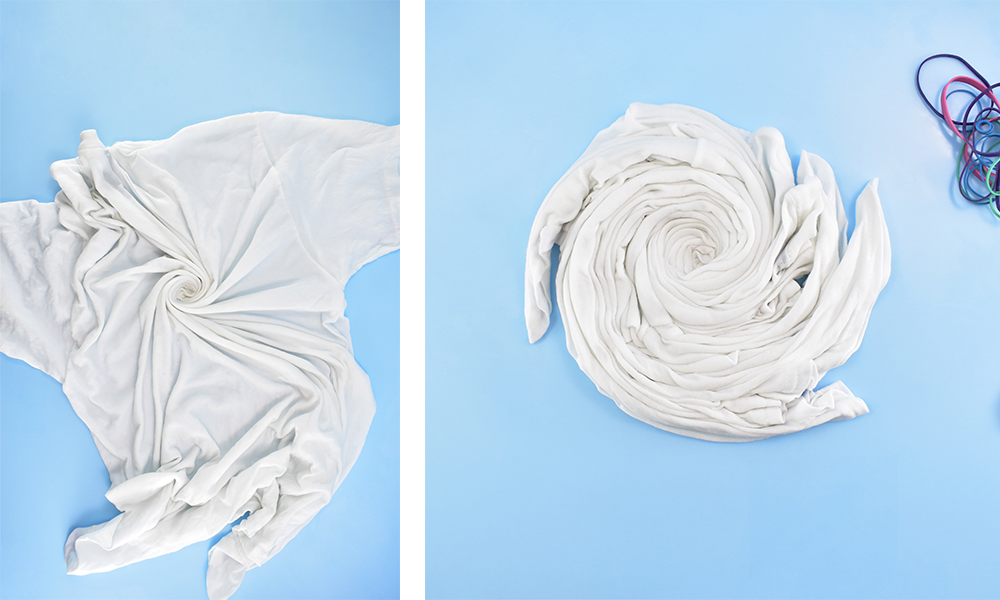
How to create a spiral pattern
Lay your damp t-shirt face down onto your work surface. Centered between where the sleeves connect to the body, pinch the fabric of both the front and back of the tee. Firmly pinching the fabric, twist it to begin forming a spiral continuing until you form a twisted disk. Place several rubber bands around the disk to hold the shape.
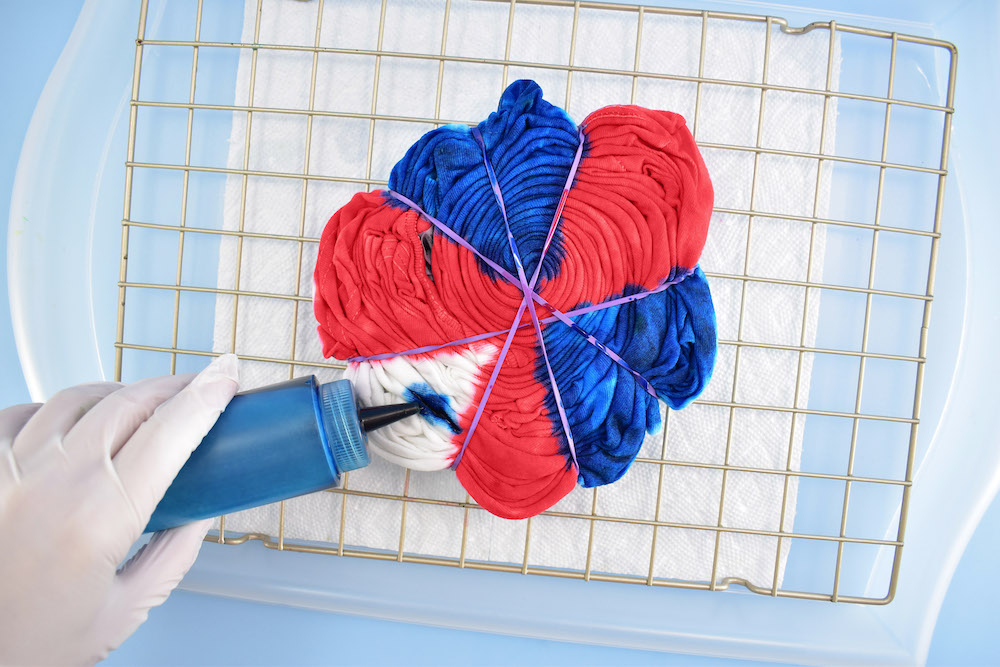
For the classic spiral look, apply dye onto the tee in pie-like sections. Flip the shirt over and repeat the design, with the same colors in the same places for the back of the tee for a traditional spiral. For an edgier spiral, the spider spiral, dye the front side red and the back side blue. Wrap in plastic and store in a warm place for 24 hours.
Washing your tie-dye t-shirts
Remove the rubber bands and then fully open the shirt to rinse under cool water until the water runs clear. To prevent bleeding, quickly place fully rinsed tees inside of a washing machine filled with water and the appropriate amount of detergent. Do not add fabric softener. Machine or line dry as soon as the washing cycle ends.
Applying your designs with Cricut
Step 1: Select your design and iron-on colors
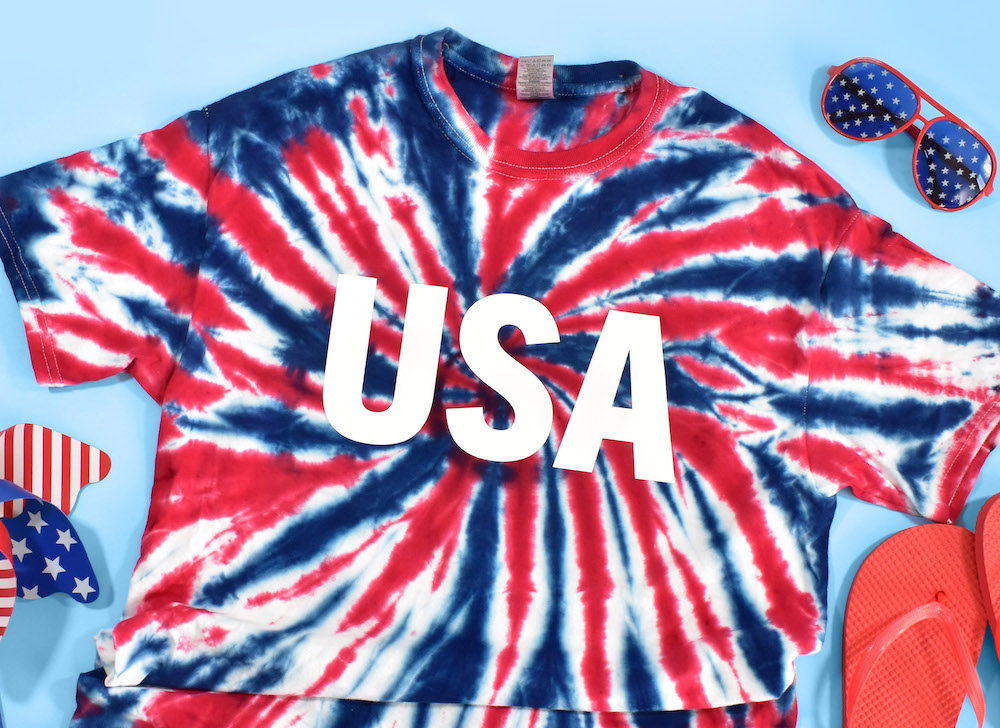
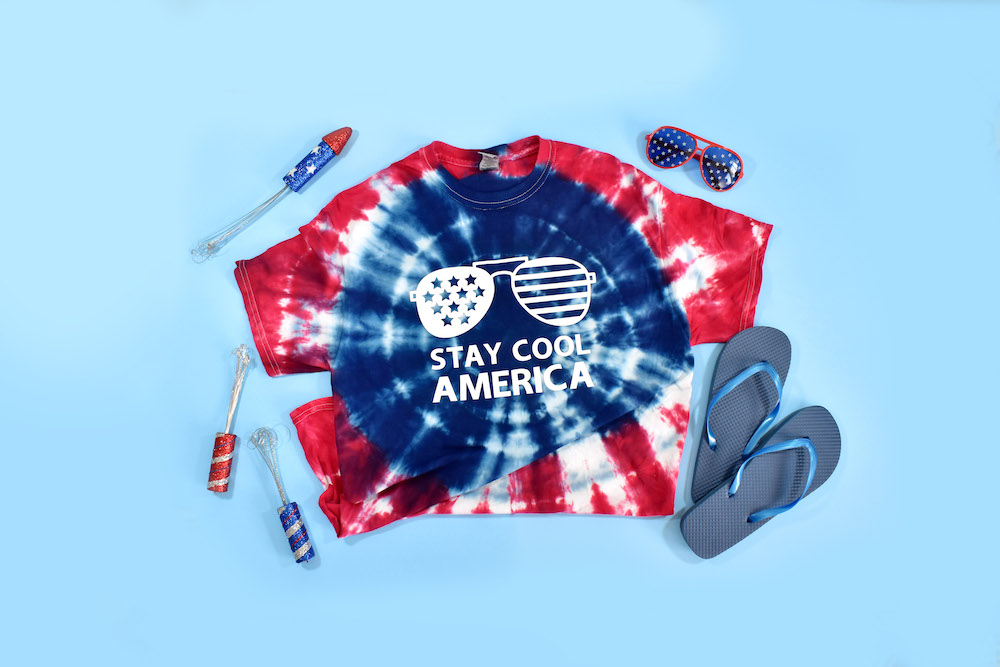
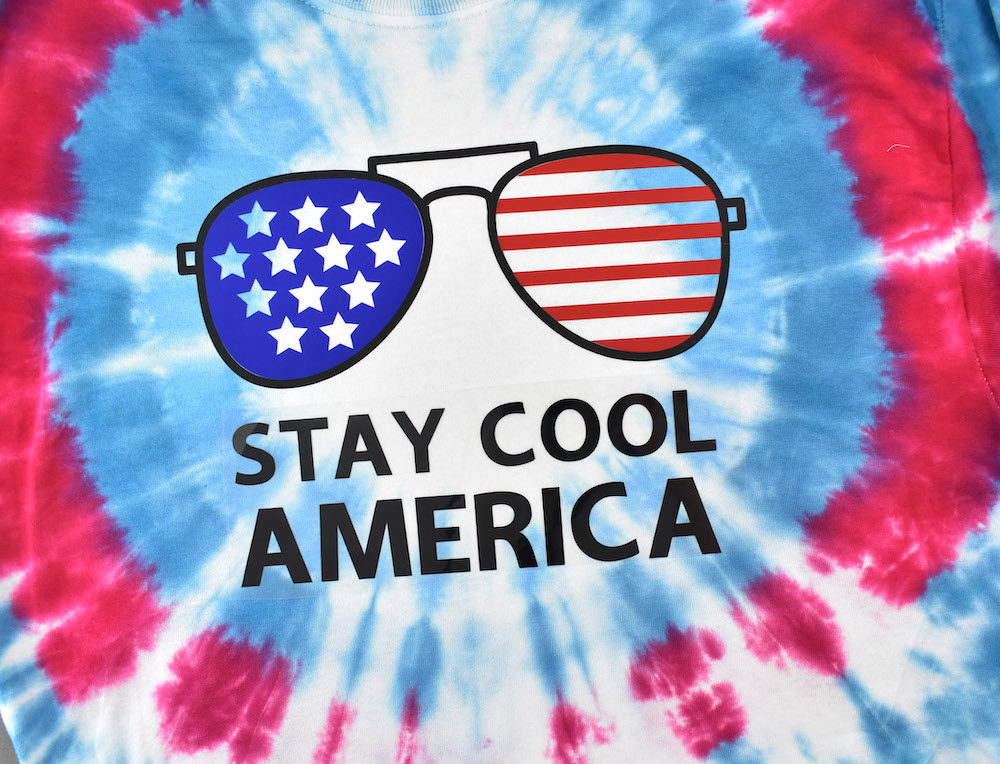
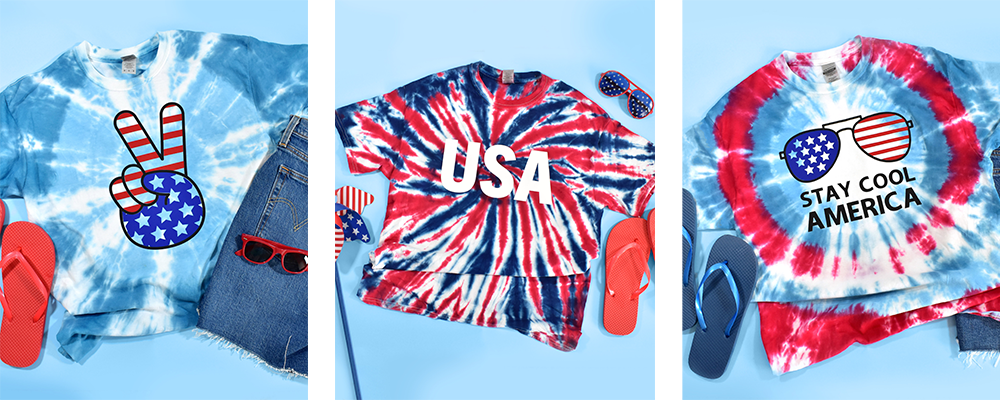
Using Cricut Design Space, I combined some cool 4th of July images and fonts with a few square and star shapes. Some of my favorites include the Patriotic Peace Fingers, Stars and Stripes USA, and the Stay Cool America Patriotic Aviator Glasses.
Adjust your chosen design to best fit your t-shirt. (All of my designs are currently sized for an adult men’s size medium t-shirt.)
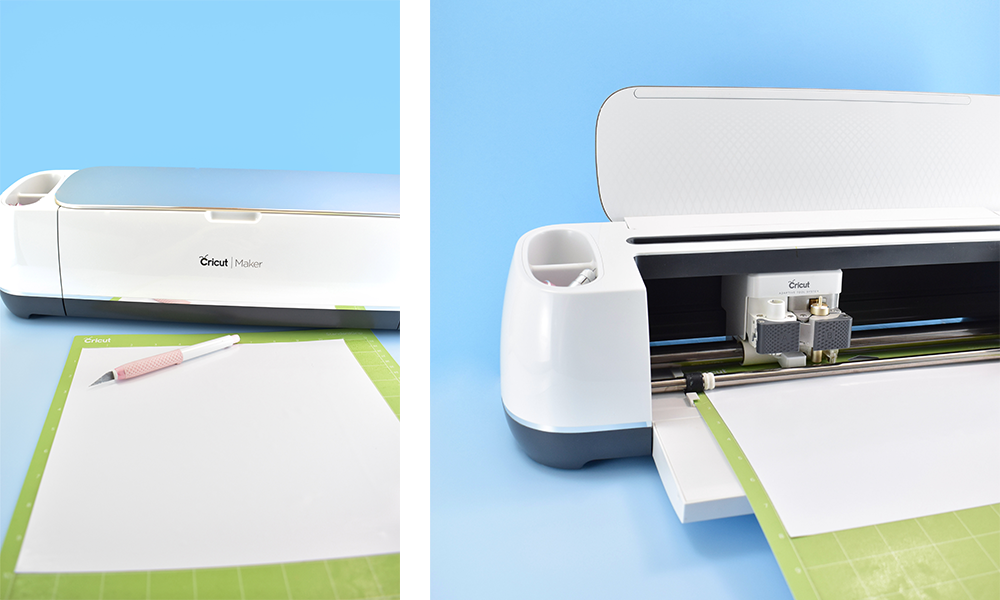
Step 2: Cut your material
Once you’re done with your design, click “Make It” and follow the on-screen instructions to begin cutting your design. Make sure to apply the Iron-On, shiny carrier sheet side down, onto a green standard grip mat. Make sure to select “MIRROR ON” when asked.
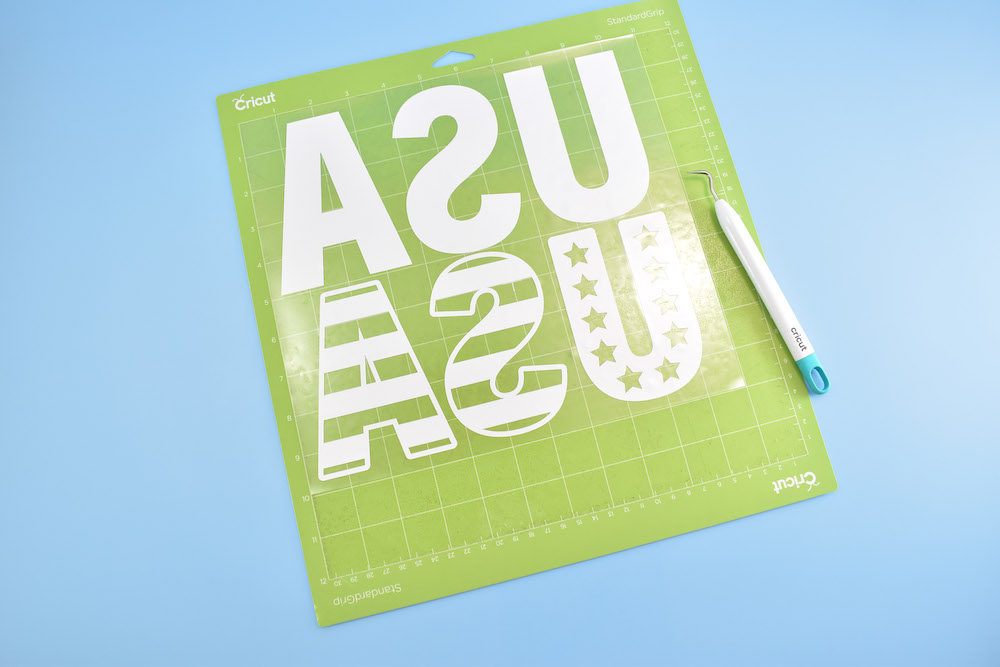
Step 3: Using a weeding hook, remove all the unnecessary pieces of material
I like to remove the excess material while it is still on the mat. It keeps my design from sliding away from or rolling up on me! This is easily done with help from Cricut’s Weeding Tool Set or True Control Weeding Kit.
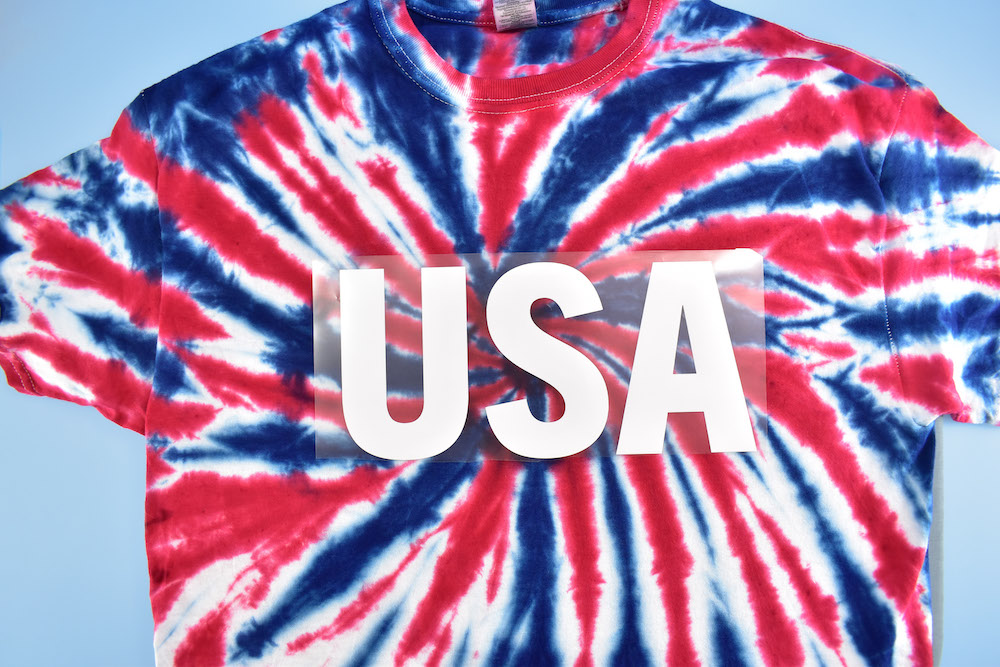
Step 4: Prep your shirt for iron-on application
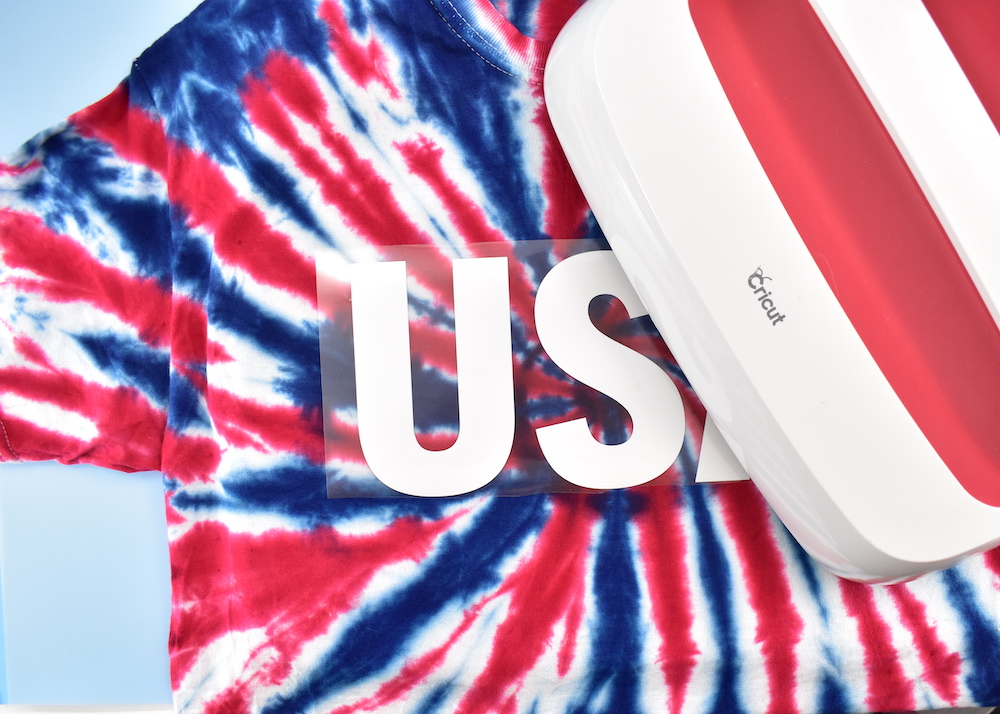
Lay your tie-dyed tee flat onto your EasyPress Mat or a towel on top of your work surface. Use your hands to carefully smooth out the shirt. If using an EasyPress Mat, preheat your press to 315°. If using a towel, preheat your press to 330°. Place your t-shirt on the EasyPress Mat or towel and preheat the shirt for 5 seconds. Place your weeded design, iron-on face down, onto the front of the shirt, liner side up. Ensure your design is centered in your bullseye or spiral.
Step 5: Apply the iron-on to your shirt using an EasyPress
Place the EasyPress on top of the design and apply light pressure for 30 seconds. Then, flip your t-shirt over and apply light pressure to the back of your design for 15 seconds. If ever in doubt of how long to apply heat to your design, Cricut’s online heat guide is an extremely helpful resource when determining temperatures and timing for your projects!
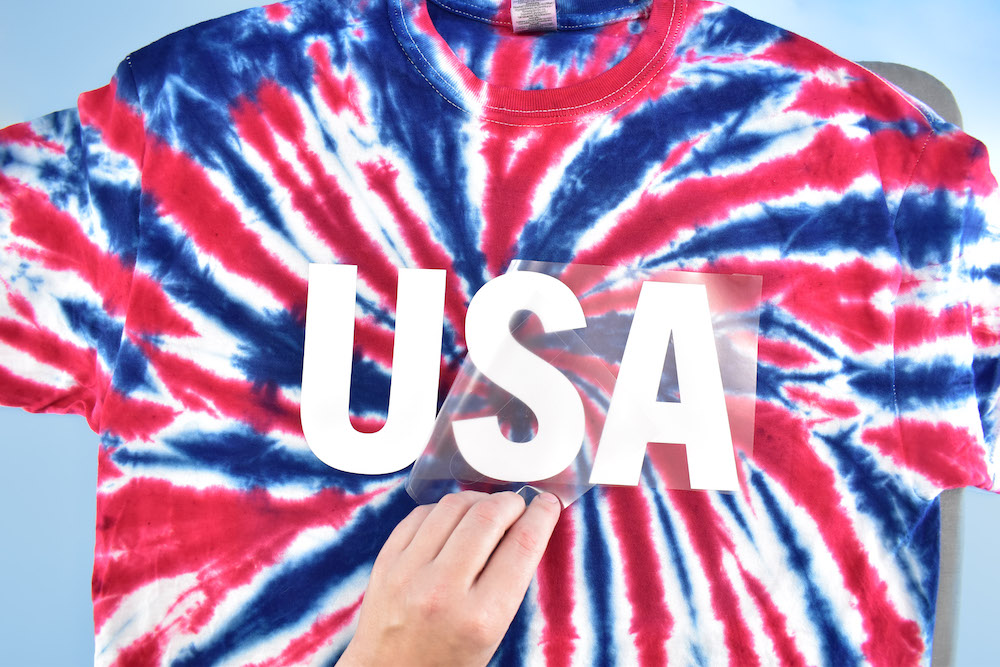
When the timer hits 0, lift your EasyPress and place it back in its cradle. Flip your shirt design-side up and allow it to cool. Once the iron-on material is cool to the touch, gently peel away the carrier sheet. If the carrier sheet sticks, replace, apply more heat and allow to cool down before trying again.
Gently run your finger around the design to ensure it has sealed down onto the t-shirt. If any part of the design can be peeled away from the t-shirt, replace the carrier sheet or use a piece of fabric or butcher paper and apply heat again as needed to set in place. Never use apply heat directly onto the iron-on, because it will ruin the design.
When layering several colors of iron-on
If layering several colors, start first with any outline design. Place the weeded design onto your t-shirt and press into place with your EasyPress for 5-6 seconds only making sure to use a lot of pressure as you push down. Once the carrier sheet is cool enough to touch, but still warm, carefully peel the sheet away. Apply more heat if needed so that the design sticks.
Trim the excess carrier sheet around the red and blue cutouts and put it into place on the tee inside of the outline. Make sure that the iron-on and carrier sheets from neighboring colors do NOT overlap. Cover the iron-on already adhered to the shirt with a protective layer of fabric, butcher paper, or used carrier sheet to prevent direct heat. Press the remaining iron-on into place for the full 30 seconds. Peel the carrier sheet when it has cooled (but is not cold).
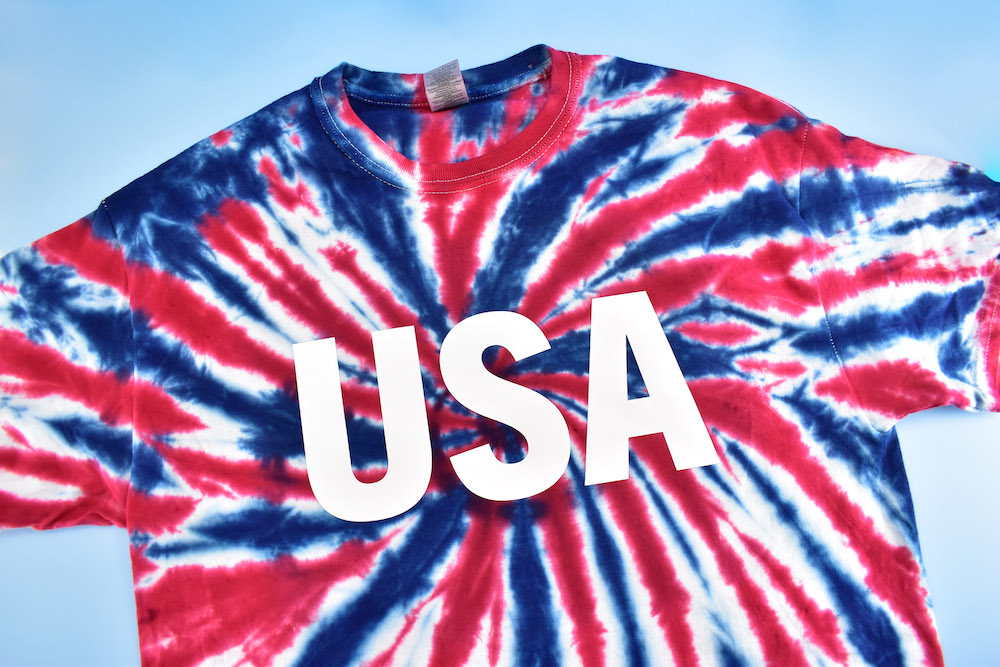
I absolutely loved the way these turned out– the combination of tie-dye patterns, colors, and decals are endless! I’ll definitely be creating more of these for other Spring and Summer seasonal events. And it doesn’t hurt that my family gets to pick through a little over a dozen unique tees that they can wear for celebrations to come!
Related Making

Search How-To
I want to make...