Working with fonts in Cricut Design Space
Hey, crafty friends! I’m Cori from Hey Let’s Make Stuff and I’m here to share tips and tricks for working with fonts in Cricut Design Space.
Some people are crazy cat ladies, but I am definitely a crazy font lady. I have hundreds (upon hundreds) of fonts and I can never say no when I see another font bundle with swirly swashes, adorable ampersands, and lovely ligatures (only crazy font ladies love ligatures!).
Needless to say, I’m thrilled to be talking fonts here on the Cricut blog! Today I’m going to take one simple word and show you how to manipulate the font in the Cricut Design Space.
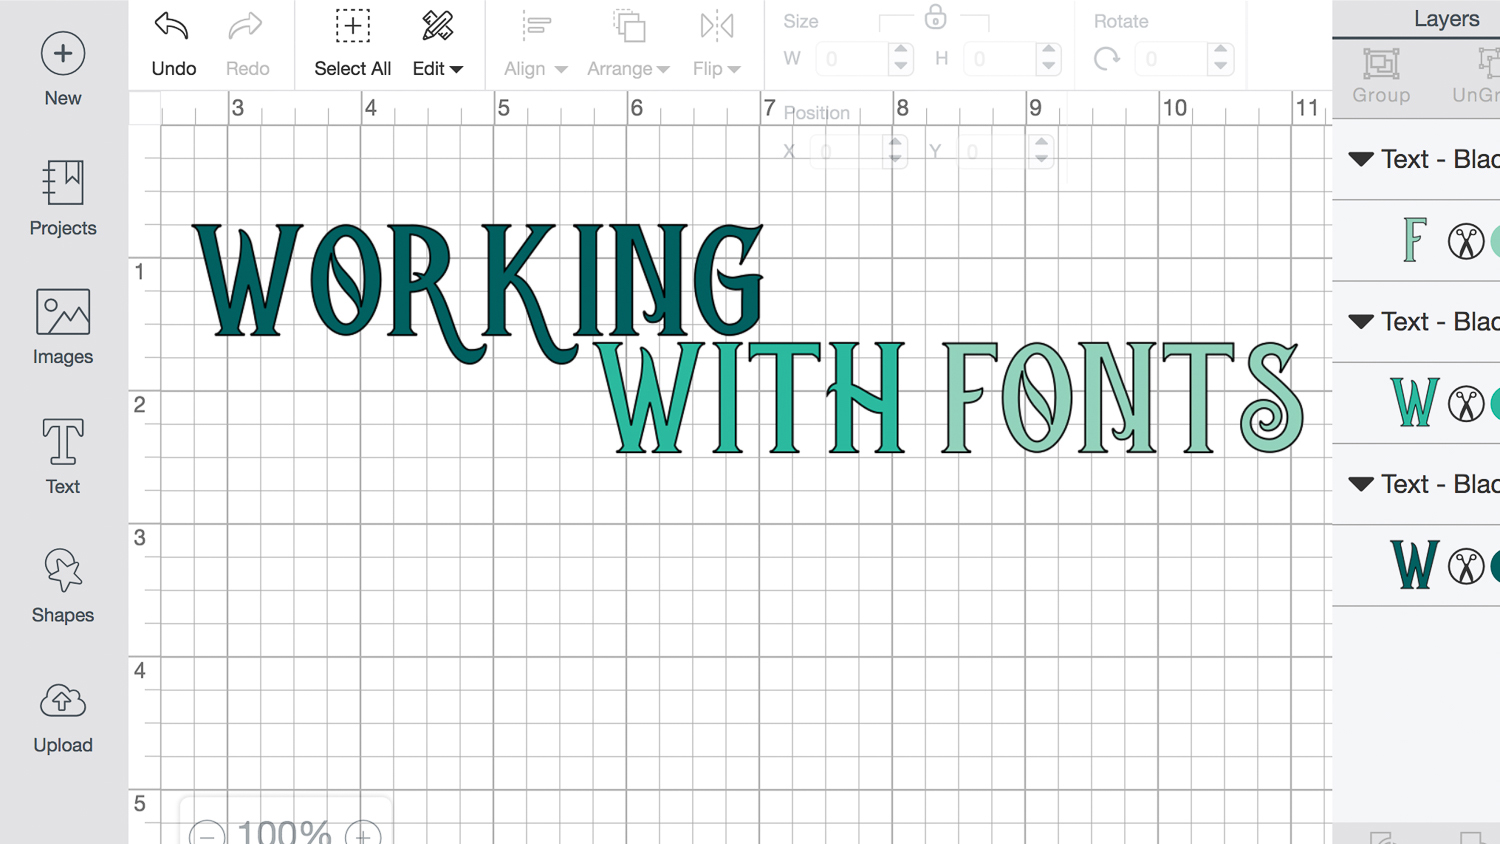
Using the Type Tool
Creating text in the Cricut Design Space is easy. Just click on the Text tool in the left menu and start typing. I’m going to use the simple word “hello!” since it’s my first post here and I’m happy to be saying hello to all of you!
Changing the Size
You can easily change the size of your text by using the drag and drop arrow in the corner of your text box, or by using the size panel at the top of your workspace. You can also select an actual font size in the same menu.
Changing Your Font
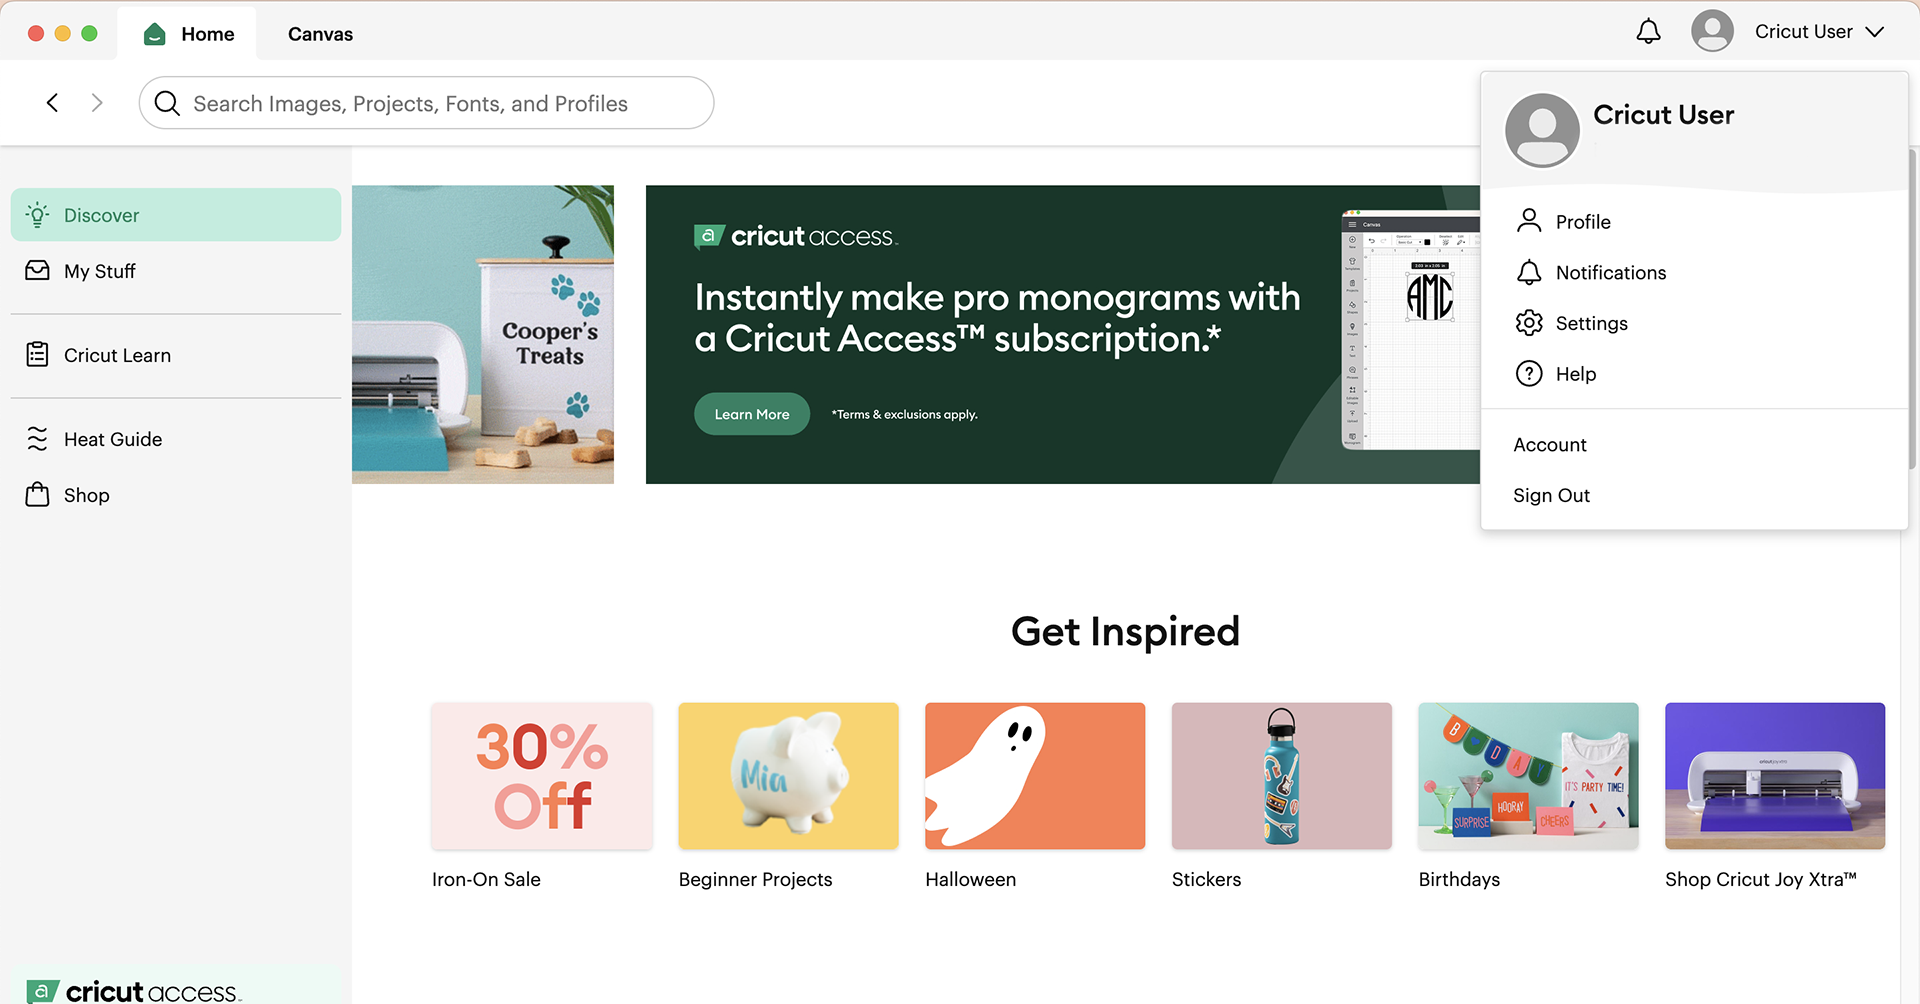
When you change your font using the drop-down menu, you can choose between Cricut fonts and your own system fonts. Cricut fonts will be denoted with a green “a.” There may be a small fee depending on your Cricut Access subscription. You can also sort by Cricut fonts vs. system fonts.
Cricut Fonts are designed to be cut on a Cricut, so they are always a great choice for your projects (the exception to this rule is Cricut fonts specifically designed as a writing style—I’ll get to that in a moment).
Using Cricut Fonts
Let’s choose a Cricut font and take a look at it more carefully. This called Quarter Note. It’s adorable.
As is, it works. You could cut this file. But let’s manipulate it a bit.
The Cricut Design Space defaults to letter spacing of 1.2, but I want each letter closer together. I would love the letters to overlap so I can cut them as a single cut. So I decreased the letter spacing to -.5. You can play around with these numbers depending on the font you are using.
I don’t, however, love how the exclamation point is oddly stuck to the end of “hello.” You can use the Advanced drop-down menu to ungroup to letters. Now you can see that each letter is separate so I can move the exclamation point on its own. I’ll just nudge it over a bit so it’s not so cozy with my text. Now we definitely don’t want to cut all these letters separately, so it’s time to weld!Drag to select your entire text, and then hit Weld in the lower right-hand corner. Your word will be welded together into one cut file! Perfect.
You can then change the color the same way you would any other object in the Cricut Design Space.
You’re ready to cut!
Using System Fonts
Using a system font that you have on your computer is no different than using a Cricut font as above, though there is one big pitfall I want to mention here.
The Cricut cuts mathematically simple files better than it does mathematically complicated files. Cricut fonts are designed to be mathematically simple, so they cut easily. Your system fonts, however, might not be as simple. Take a look at Anodyne. It’s a great grungy font. And there’s a good chance it will destroy your material.
Look at all those little angles and cutouts! Every time, the Cricut has to adjust the blade and mat direction. The Cricut Explore is an amazing machine, but that’s impossible to cut out well.
The best fonts for cutting on the Cricut have smooth edges and have a relatively even weight (the thickness of the lines in each character). Keep this in mind when choosing one of your system fonts to cut on the Cricut!
Writing Styles
I mentioned writing styles above. As you probably know, the Cricut can do much more than cut. Using the Cricut to write is a fun way to add all sorts of text and embellishments to your projects.
When choosing a font to write with, I recommend choosing a Cricut font that specifically has a writing style. Select only Cricut Fonts and then click the little drop-down on the right side of the search bar and select Writing. This will narrow your choices down to the fonts that are specifically designed to be written with the Cricut.
Check out how I addressed my boys’ birthday invitations using the Cricut.
Beyond Text
If you’re really stuck you can always check out the extensive library of files in Cricut Access. There are so many cool words and quotes in there to create any project you can imagine!
I hope you’ve found some helpful basic tips about working with fonts. I hope I get to share with you some more advanced font tutorials soon. Make sure to pin this post so that you’ll have it to refer to. Happy making!
Related Making

Search How-To
I want to make...