4 DIY social distancing sign ideas for the classroom
This year, teachers are facing the difficult challenge of keeping students at a proper social distance while still creating an environment that champions fun, learning, and creativity. To all of the incredible teachers out there looking for simple ways to remind children to stay six feet apart… have no fear! Cricut Design Space is here!
Our new Social Distancing Image Set allowed me to whip up some removable signage perfect for the classroom this year. Whether you’re providing instructions on how to wash your hands or reminding students to wear their mask, we’ve got the image for you.
Below, I’ll walk you through how to create social distancing signs that can be easily placed on your classroom floor. I’ve also included more DIY social distancing sign ideas for the classroom after the tutorial.
How to make social distancing floor markers
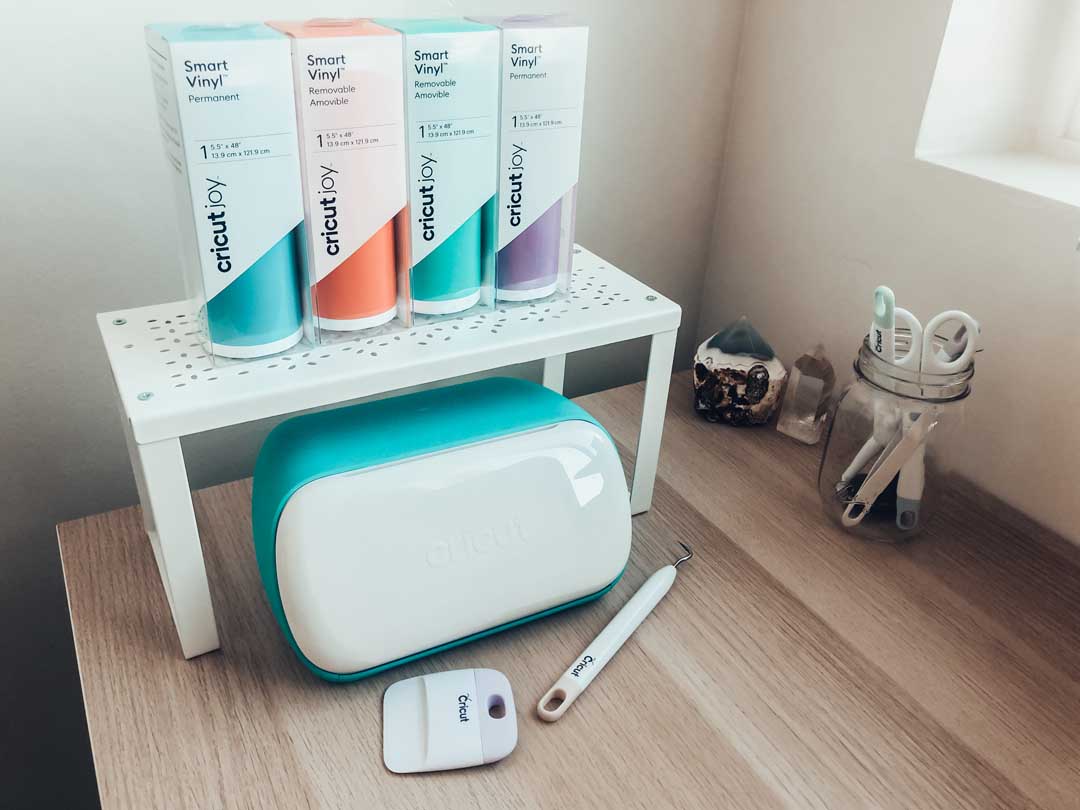
What you’ll need:
- Cricut Joy (or other Cricut cutting machine)
- Removable Smart Vinyl (or other vinyl compatible with your machine)
- Transfer tape
- Weeding tool and scraper
- Scissors or trimmer (optional, but great for saving valuable vinyl)
Step 1: Customize your signs in Design Space
If you’d like to use my community project in Design Space, find it HERE.
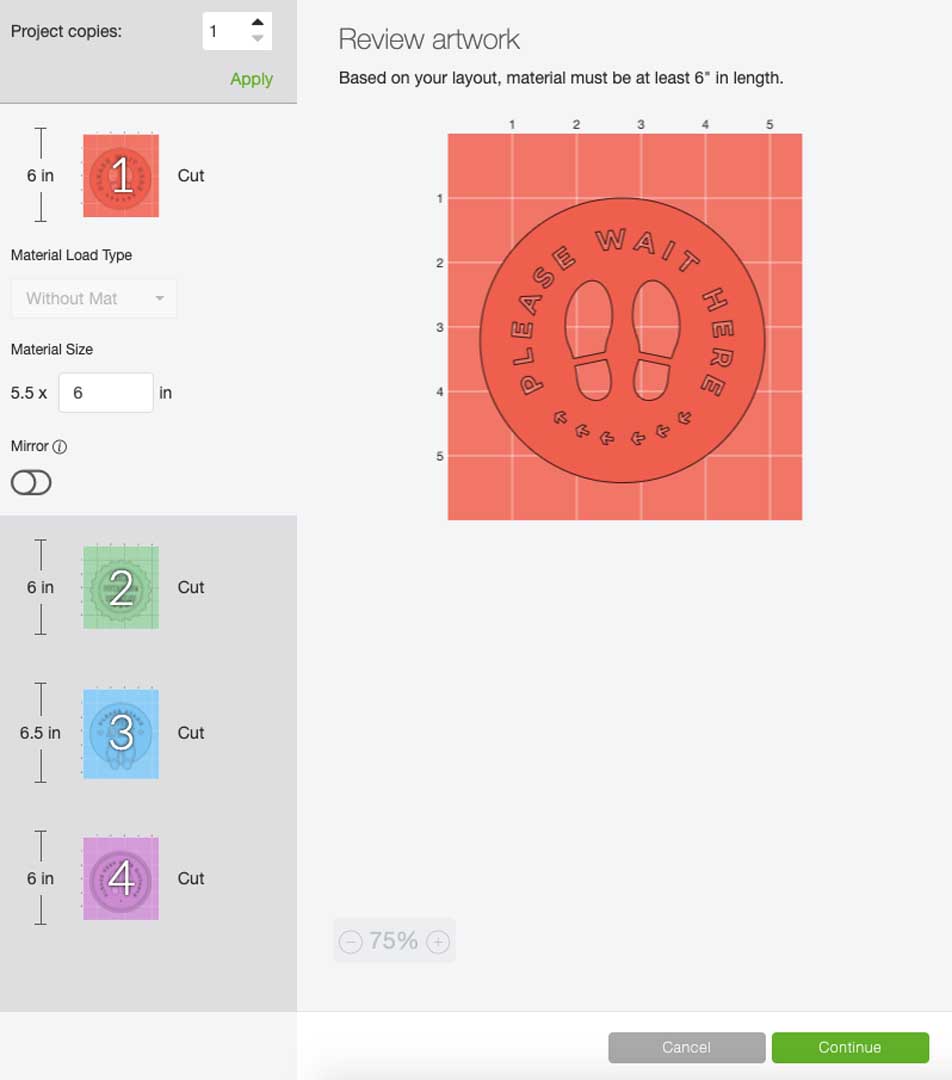
Head into Design Space and find the social distancing images that you plan on using for your classroom. I chose 3 images from the Social Distancing Image Set and one additional image by searching “social distancing” within Design Space.
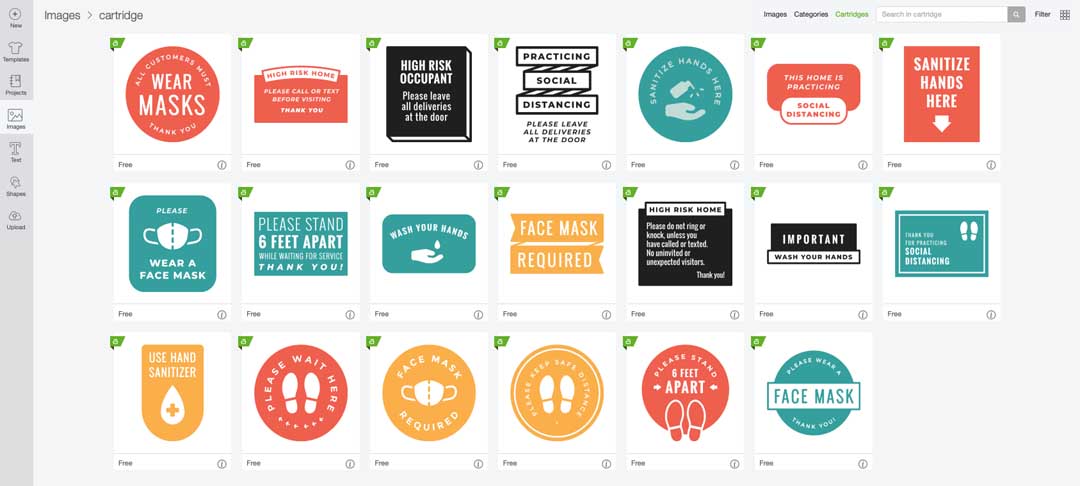
When using Cricut Joy, be sure your images don’t exceed 4.5” in width. I assigned a separate color to each image on my canvas so that my machine would prompt me to switch out the vinyl material as I cut my project. You can also do this with the other Cricut smart cutting machines.
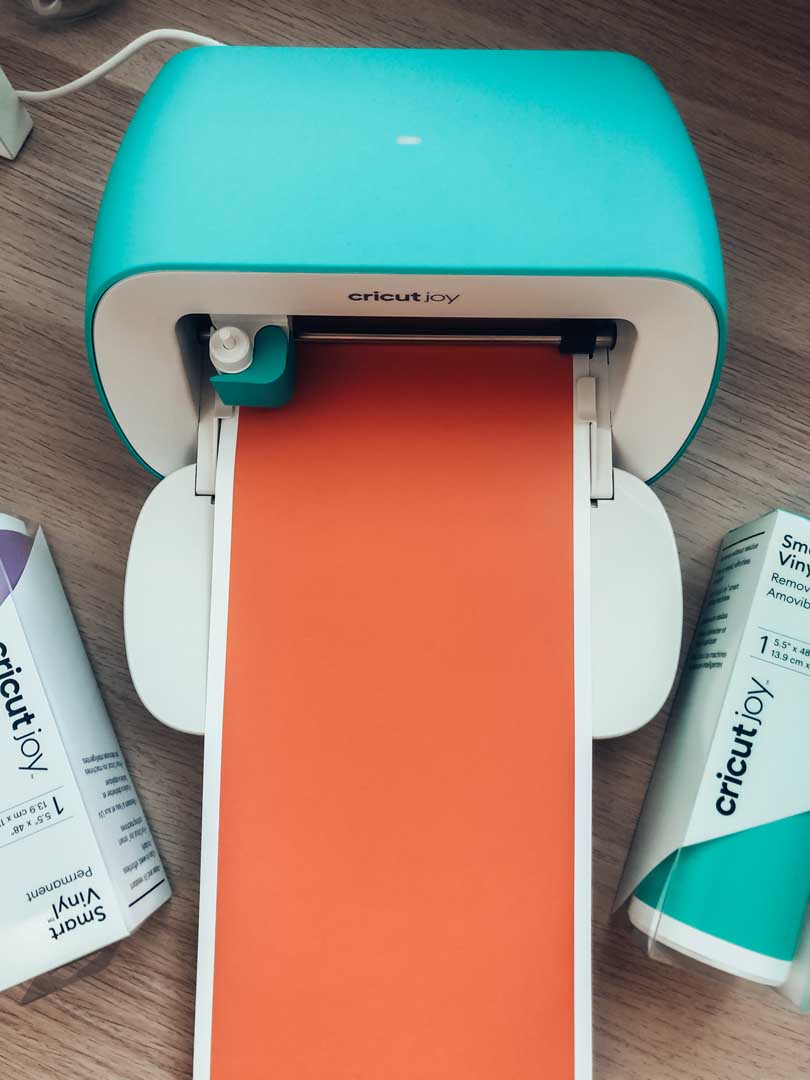
Step 2: Let your Cricut Joy do the hard work
After you’ve sized and adjusted your images, click Make It and allow your Cricut Joy to do all of the work! Follow the directions on screen and as the machine cuts each image, change out the different colors of vinyl as the machine prompts you to do so.
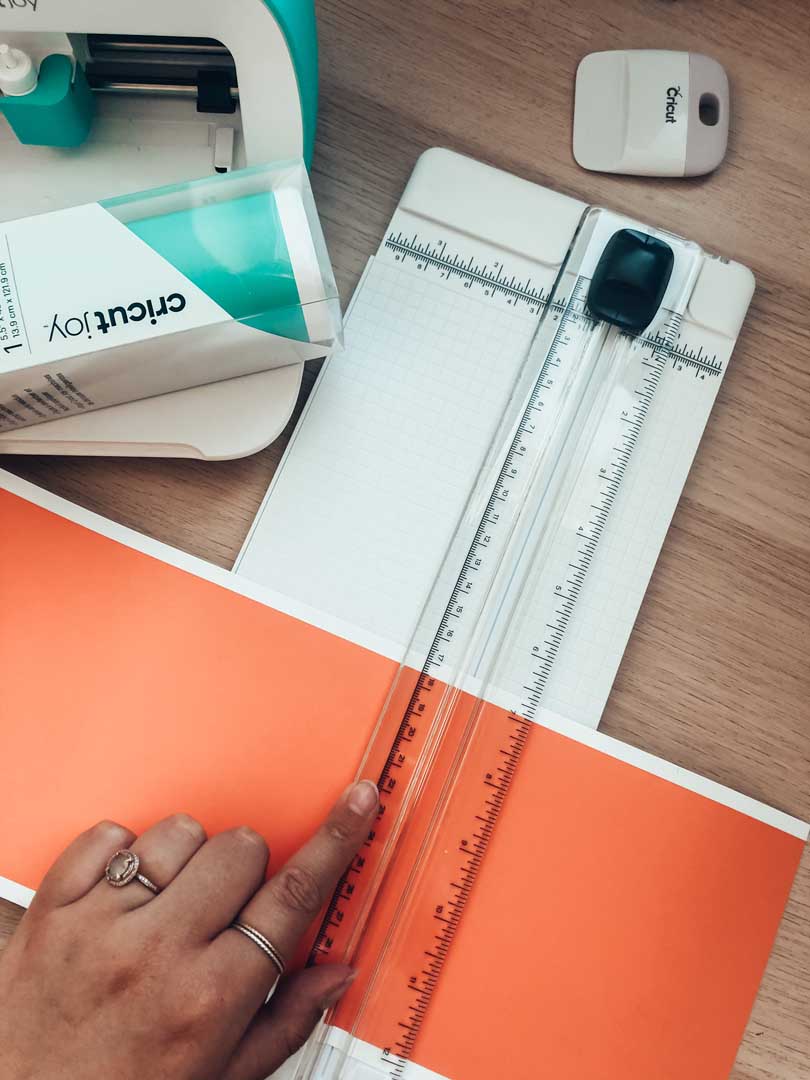
Use scissors or a paper trimmer to cleanly cut the remaining un-used vinyl from your design after the project finishes cutting on the machine. Save the un-used vinyl for your next project!
Step 3: Weed your design
Now, take your weeding tool to peel away the unwanted vinyl and reveal your design. Make sure to take your time, especially around small tricky spots like inside the “A” or “P”.
Step 4: Transfer your design to the floor
To transfer your design to the floor, cut a piece of transfer tape approximately the size of your social-distancing design with scissors or a trimmer. Place the transfer tape sticky side down on top of your weeded design, then use your scrapper tool to burnish (rub) the design onto the sticky side of the transfer tape.
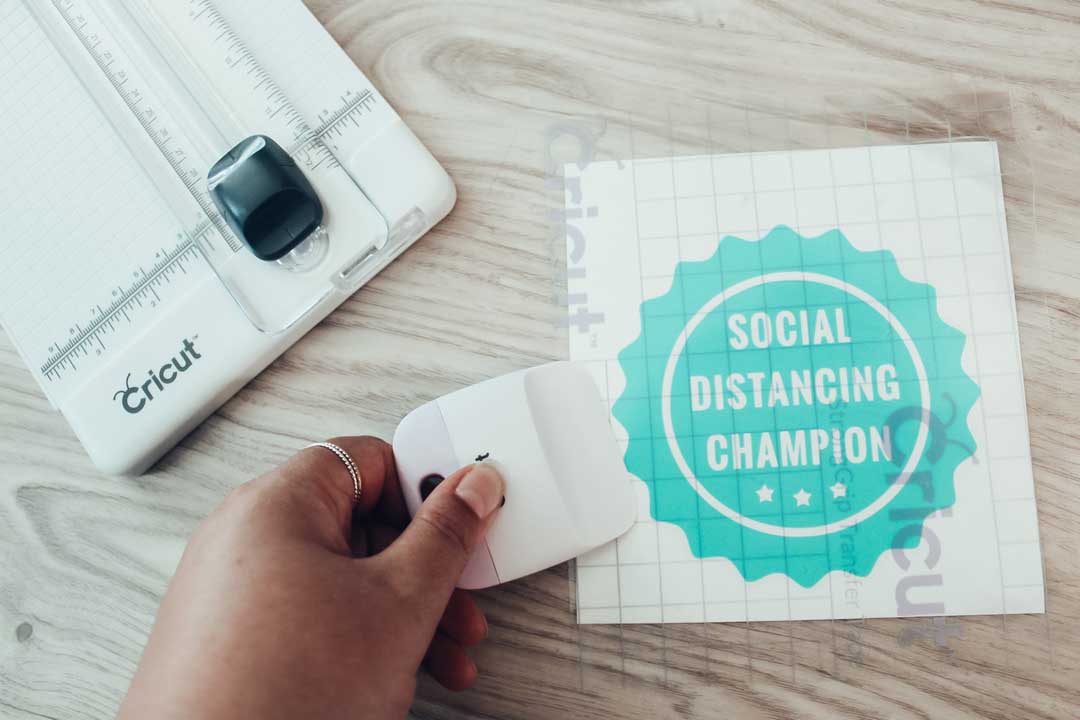
Next, place the transfer tape on the surface where you want to place the sign and use the scraper tool to transfer your design. Again, make sure to spend extra time on the small tricky areas like the inside of an “A” or “P”, otherwise they may have a harder time completely peeling from the transfer tape.
Repeat this step as necessary.
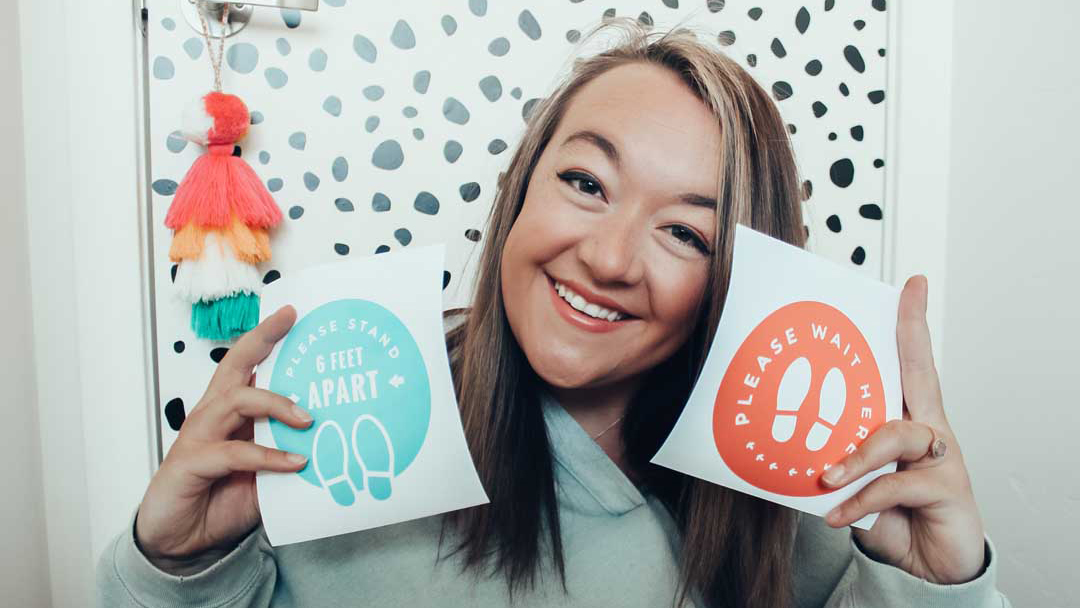
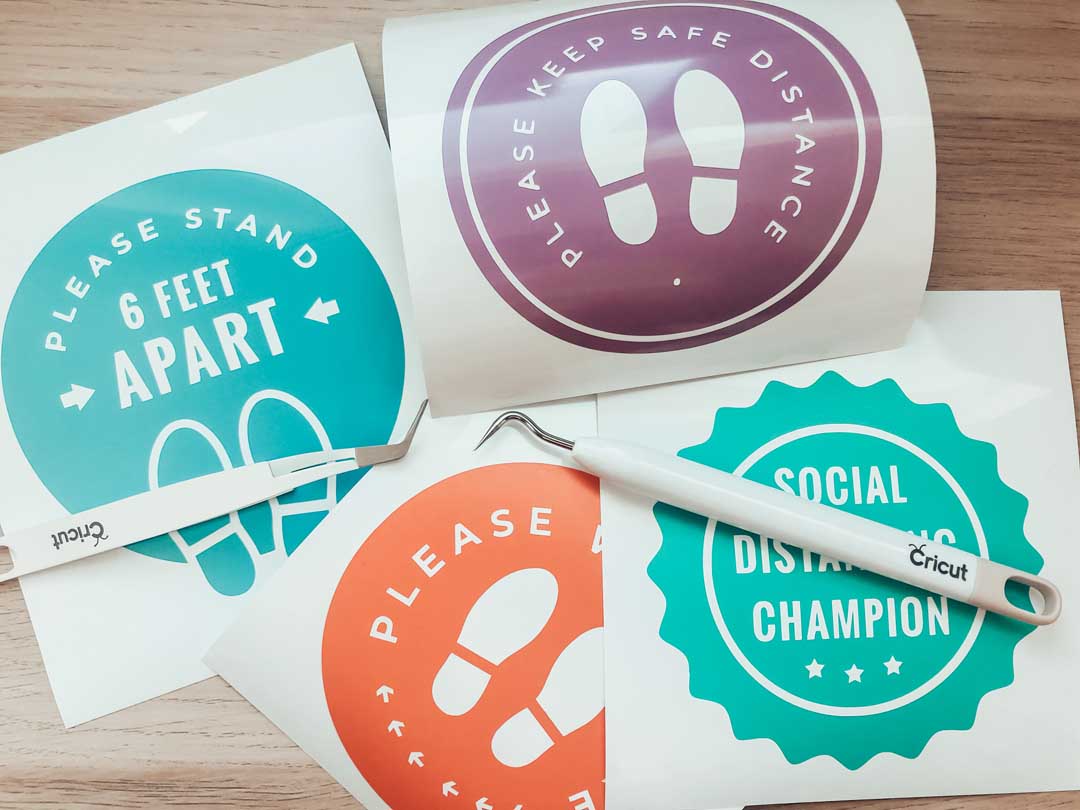
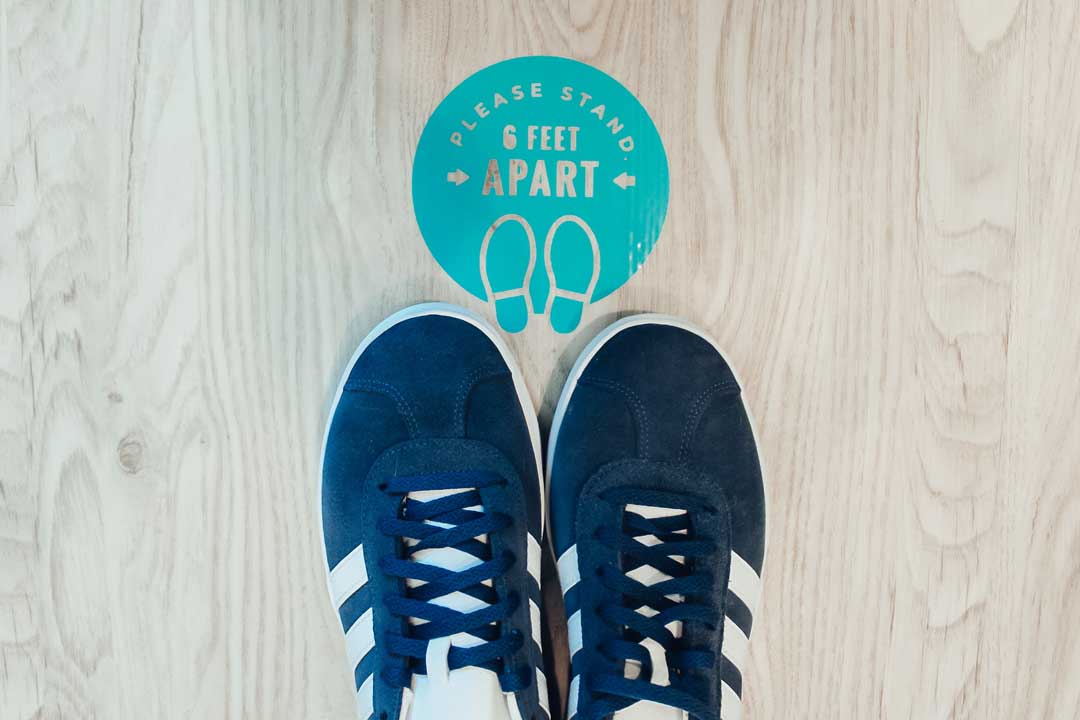
Step 5: Step back (at an acceptable social distance) to enjoy
You now have simple, fun social distancing signs adorning your classroom floor! The great thing about this project is that you can use removable or permanent vinyl. Removable vinyl will allow you to effortlessly remove these floor markers without worrying about sticky residue. It’s also great for decals adhered to the wall, desks, and doors. Permanent vinyl is fantastic for floors that get more wear and tear.
No matter what your back-to-school season looks like, we hope that you all remain happy and healthy. Here are a few more ideas to inspire you.
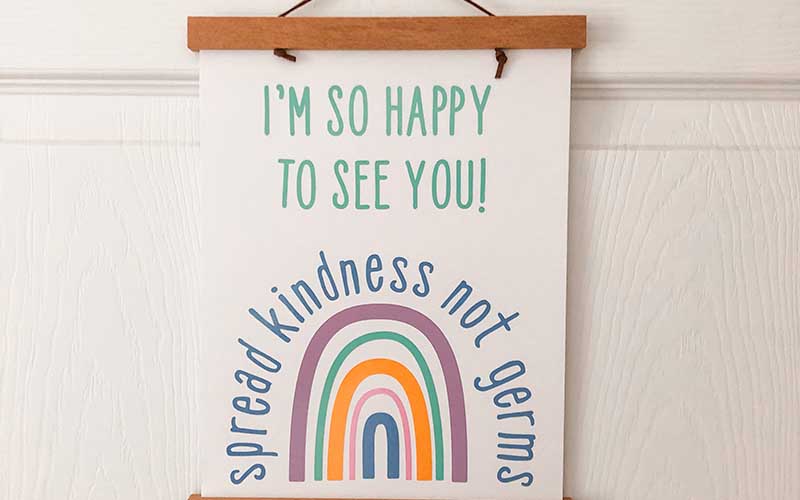
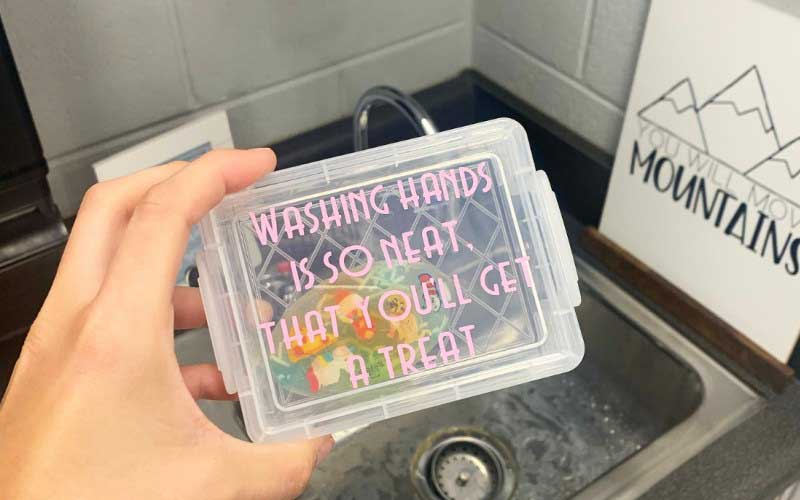
Two more DIY project ideas
Related Making


Search How-To
I want to make...